

Grand Canyon:
Rim to River to Rim

August 2025 Update - The entire inner canyon is closed due to the Dragon Bravo Fire. Check the official NPS website for updates**
Hiking rim to river to rim at the South Rim of the Grand Canyon is an unforgettable, ultra-challenging adventure that takes you from the cool heights of the canyon’s edge, down thousands of feet through shifting layers of geologic history, to the roaring Colorado River far below—only to turn around and tackle the steep, relentless climb back up. Covering roughly 17 miles round-trip (depending on your trail choice, such as South Kaibab down and Bright Angel up), this trek delivers jaw-dropping panoramic vistas, desert flora and fauna, and dramatic changes in temperature and terrain. While the descent tempts you with ease, the return ascent is a punishing grind that demands peak fitness, careful hydration, and respect for the canyon’s extreme conditions—making the accomplishment of standing back on the rim all the sweeter. LET’S GOOOOO!!!!
Grand Canyon in a Day: My South Rim to Phantom Ranch and Back Adventure
April 11, 2025 — One epic hike, two sore legs, way too many damn blisters, and a whole lotta canyon.
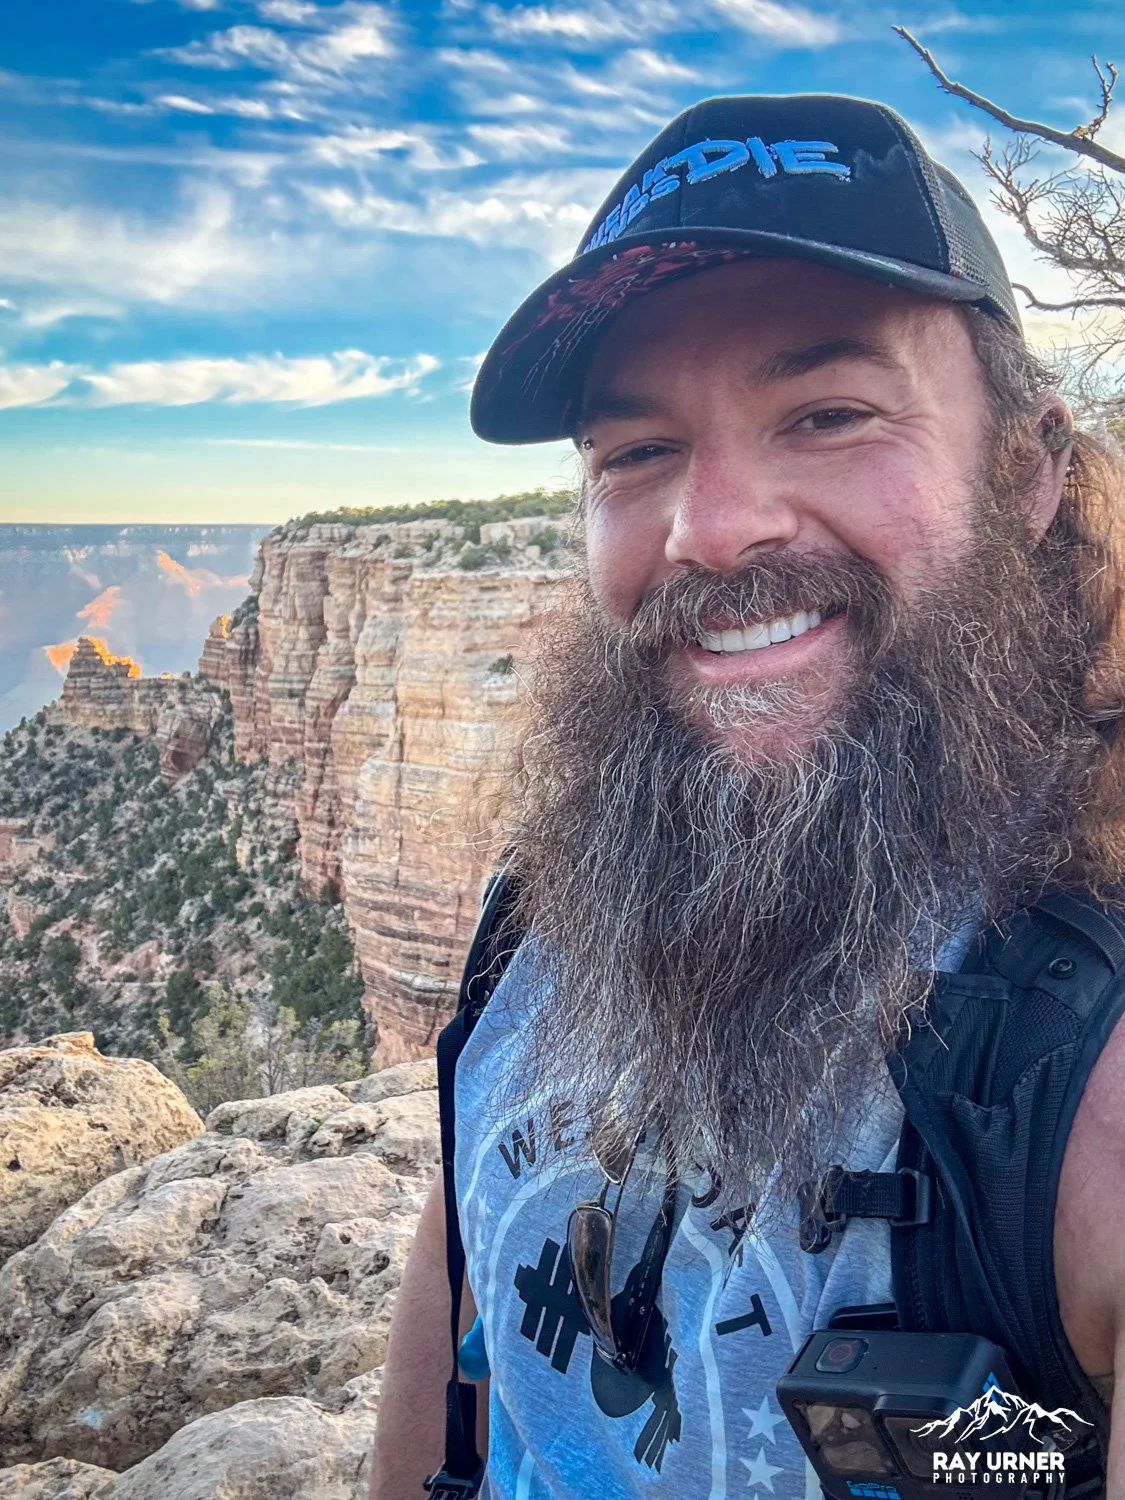
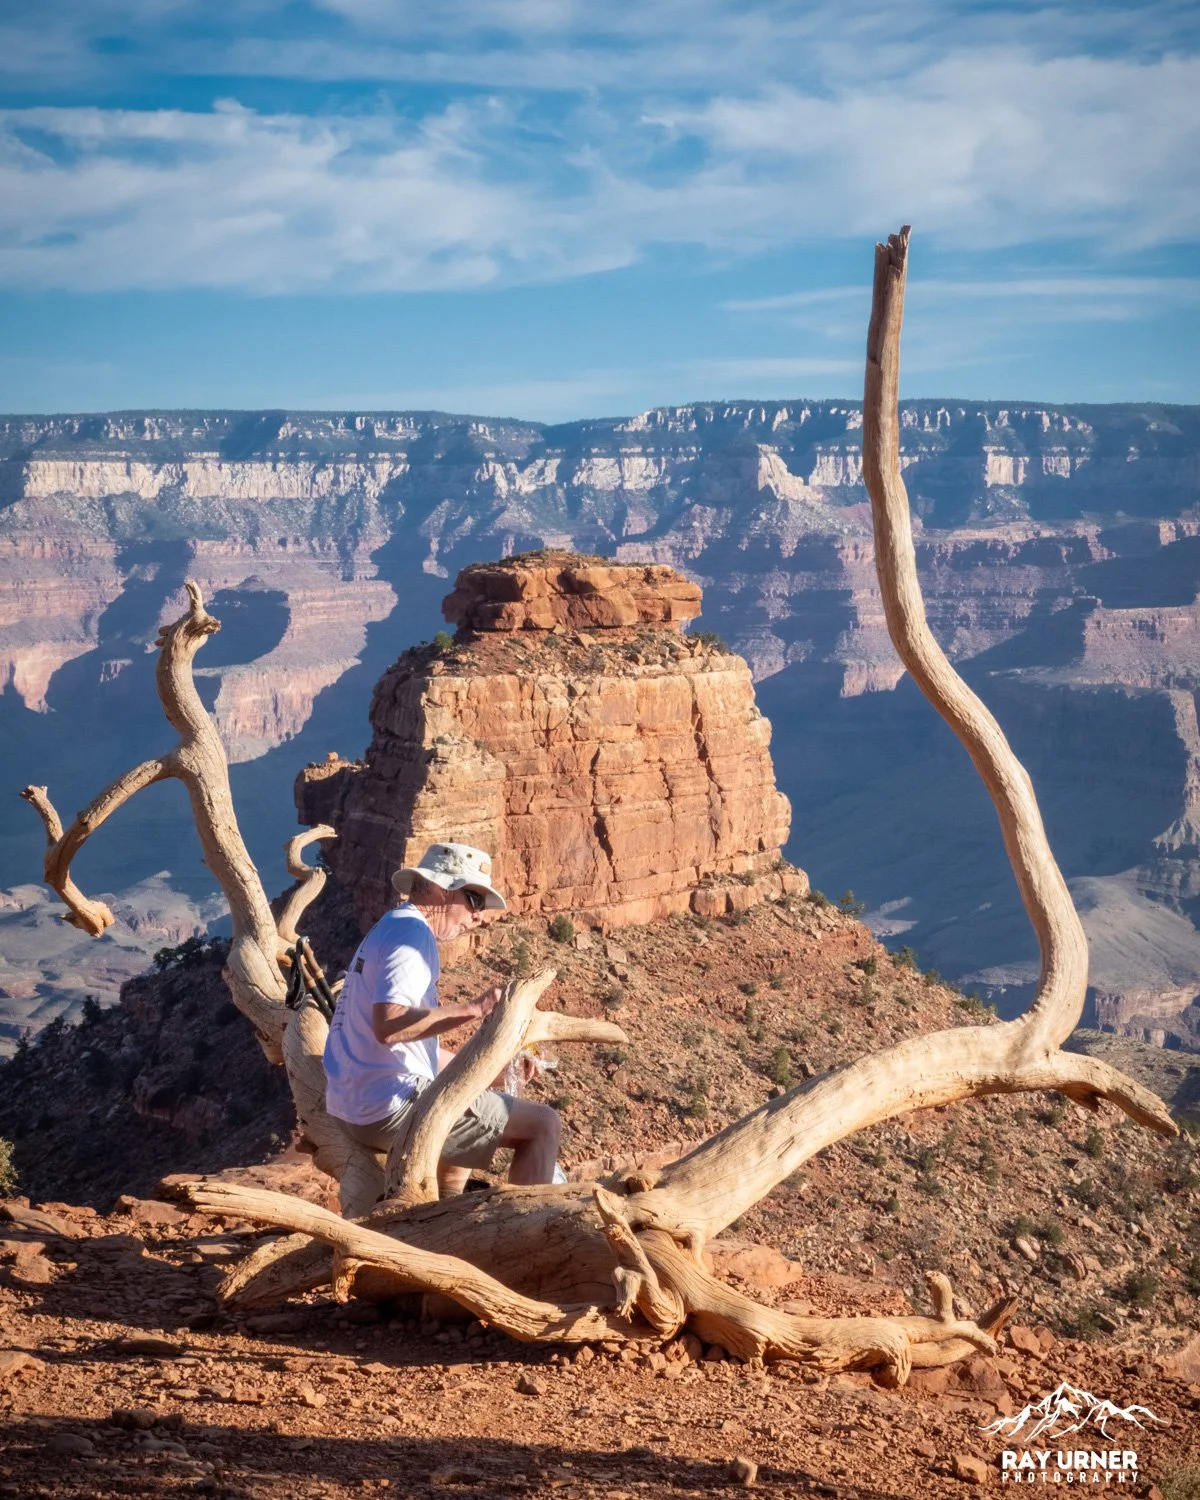
Here is the BEFORE picture. Wondered if I’d still be smiling at the end of this day!
Grand Canyon in a Day: My South Rim to Phantom Ranch and Back Adventure
Getting Started: Accessing the South Kaibab Trailhead
Before you even think about descending into the belly of the beast, you’ve got to get to the South Kaibab Trailhead. Pro tip: you can’t drive there yourself. The trailhead is only accessible via the Grand Canyon Shuttle System. From Grand Canyon Village, hop on the Orange Route (Kaibab Rim Route) shuttle. It runs frequently and drops you off right at the trailhead. Easy peasy.
South Kaibab Trailhead to Ooh Aah Point
Distance: ~0.9 miles
Elevation Loss: ~600 feet
Time: 6:30 AM – 7:00 AM
Temperature: ~40°F (bring layers!)
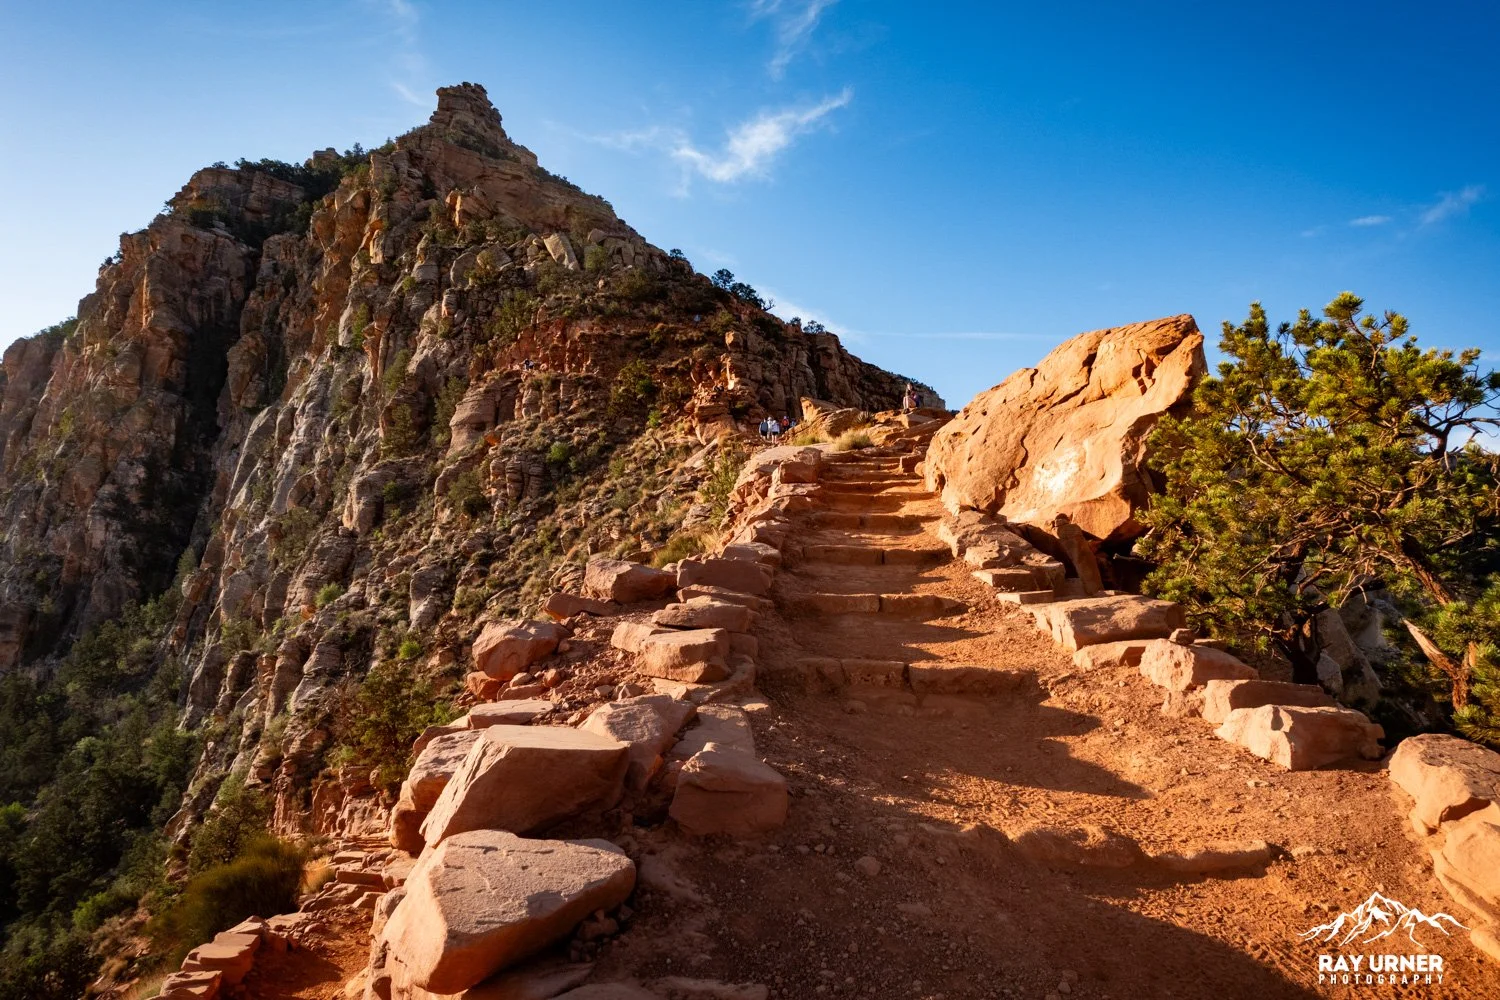
This section kicks off with a bang—steep switchbacks and sweeping views. The trail is well-maintained but exposed, so you’ll immediately feel like you’re in the canyon, not just looking at it. But hey, I suppose you ARE in it!
Ooh Aah Point, your first stop, earns its name. You’ll literally say “Ooh” and “Aah” when you get there. It’s the first major viewpoint and a great spot to catch your breath and snap a photo that screams, “I’m doing something epic!”
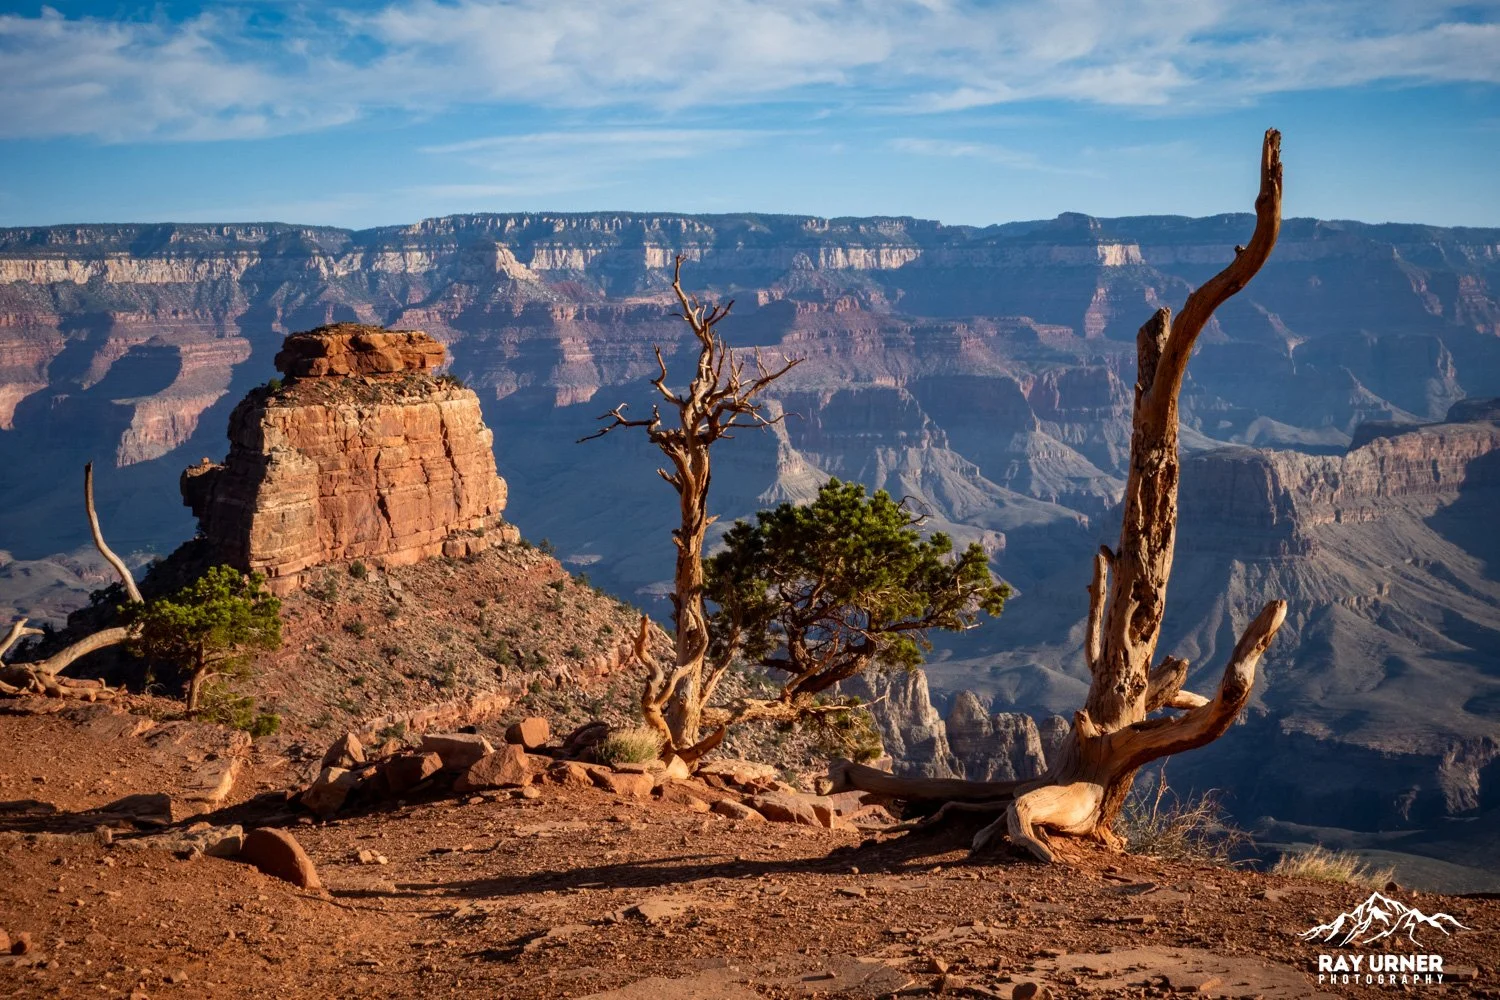
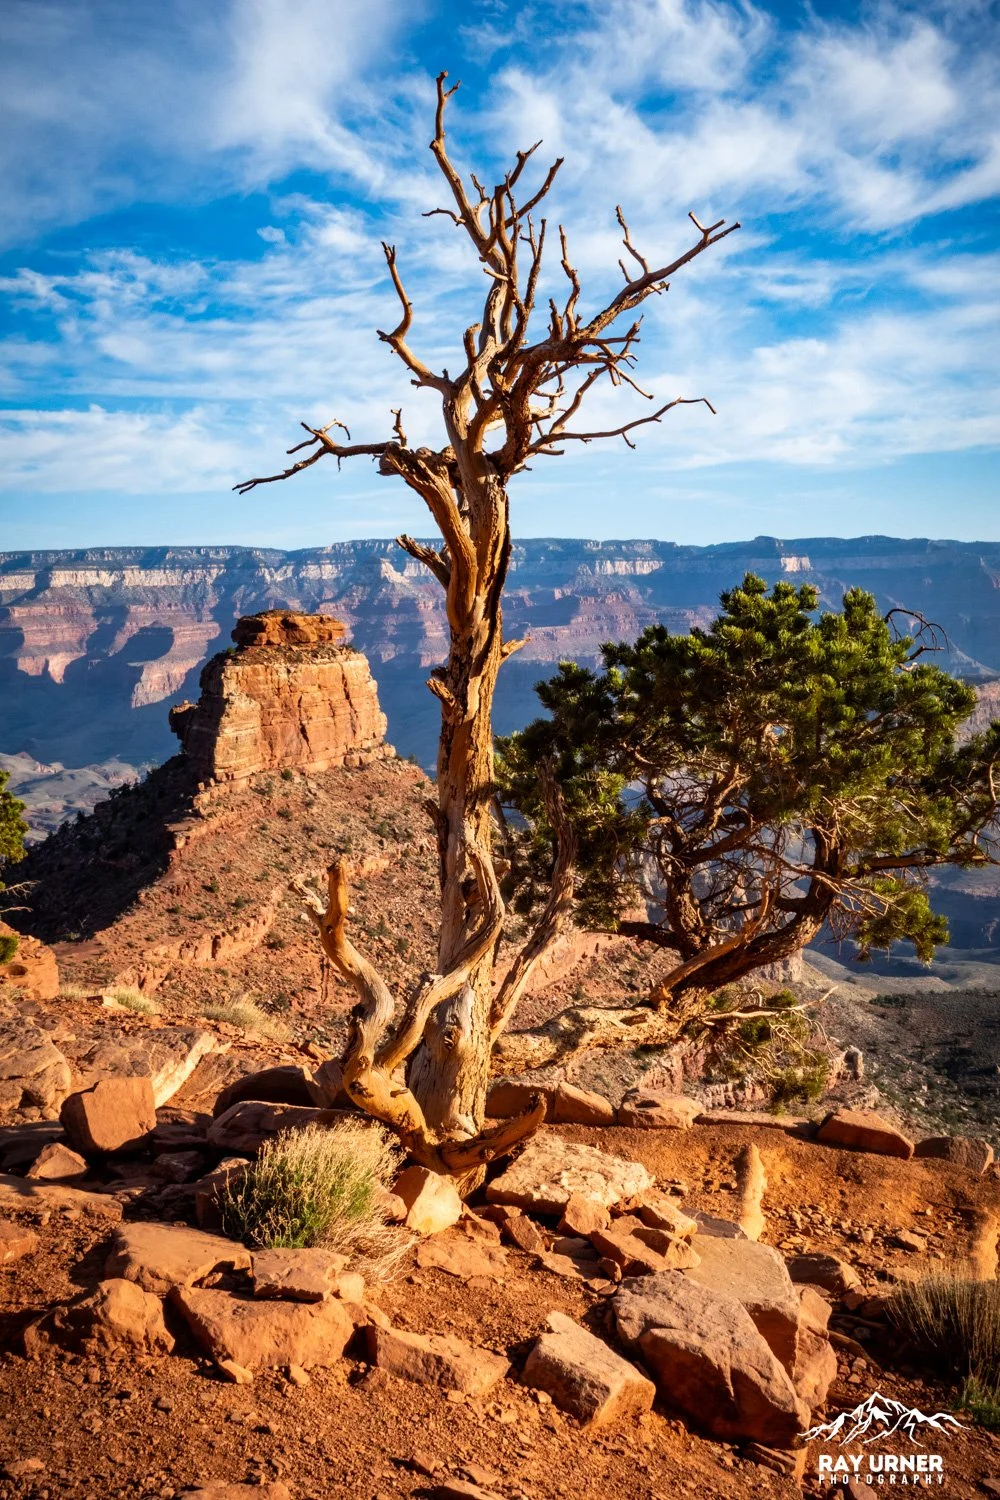
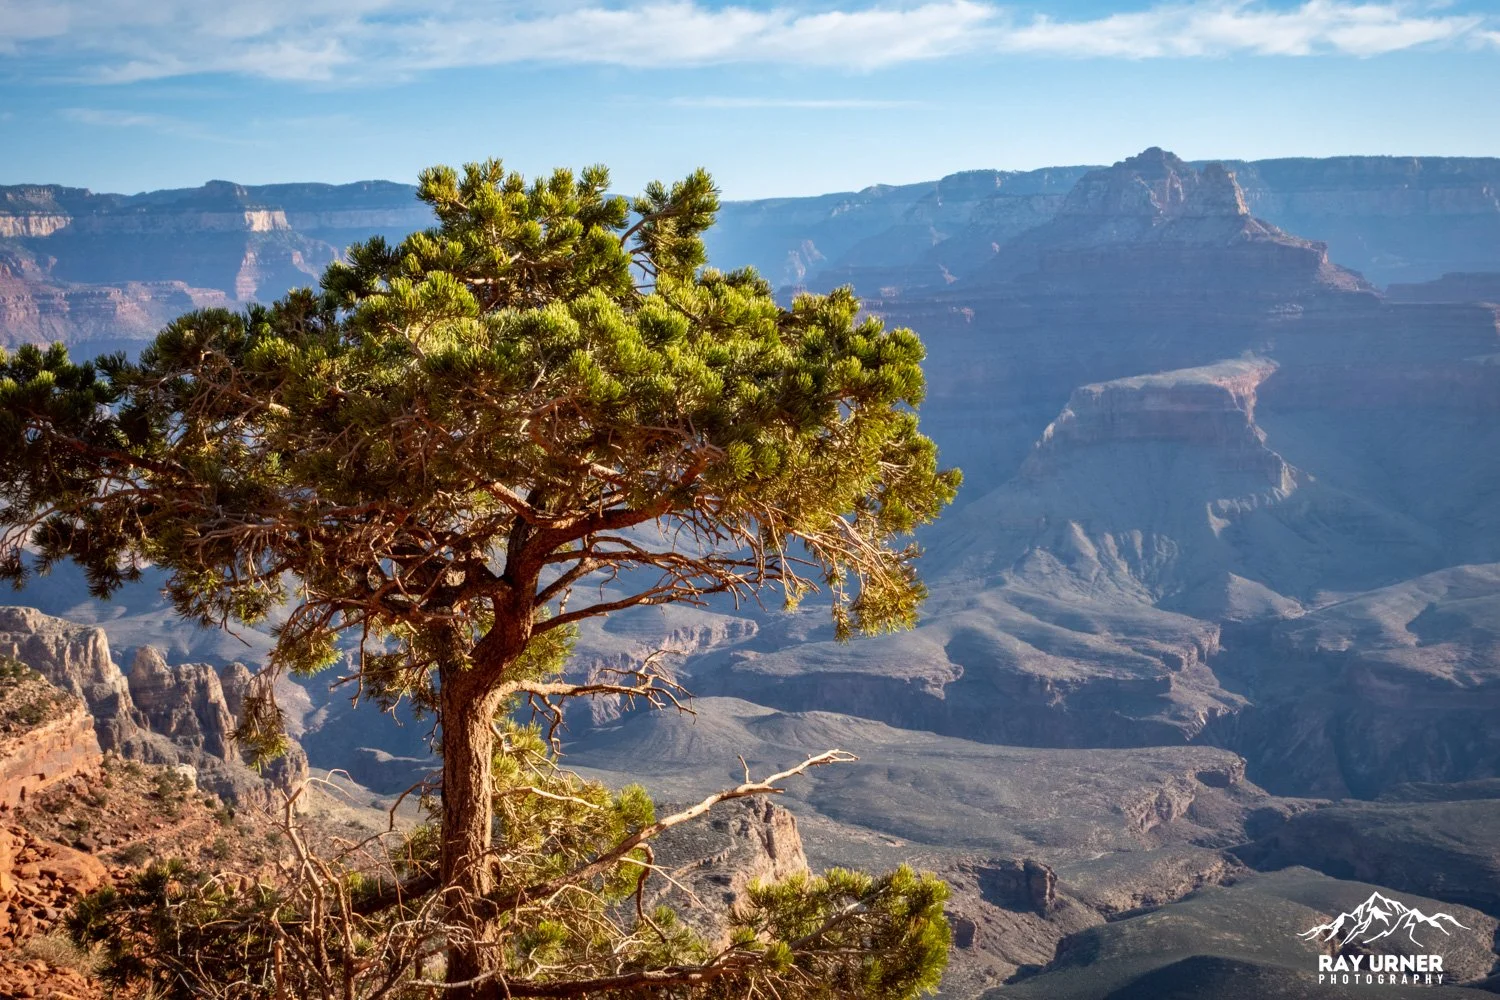
Geology & Ecology: You’re walking through the Kaibab Limestone, the top layer of the canyon. Look for Pinyon Pines and Utah Junipers clinging to the edges like daredevils.


Ooh Aah Point to Cedar Ridge
Distance: ~0.6 miles
Elevation Loss: ~500 feet
Time: 7:00 AM – 7:30 AM
Temperature: ~45°F
This stretch is a bit less steep but still a solid descent. You’ll start to feel the canyon wrapping around you.
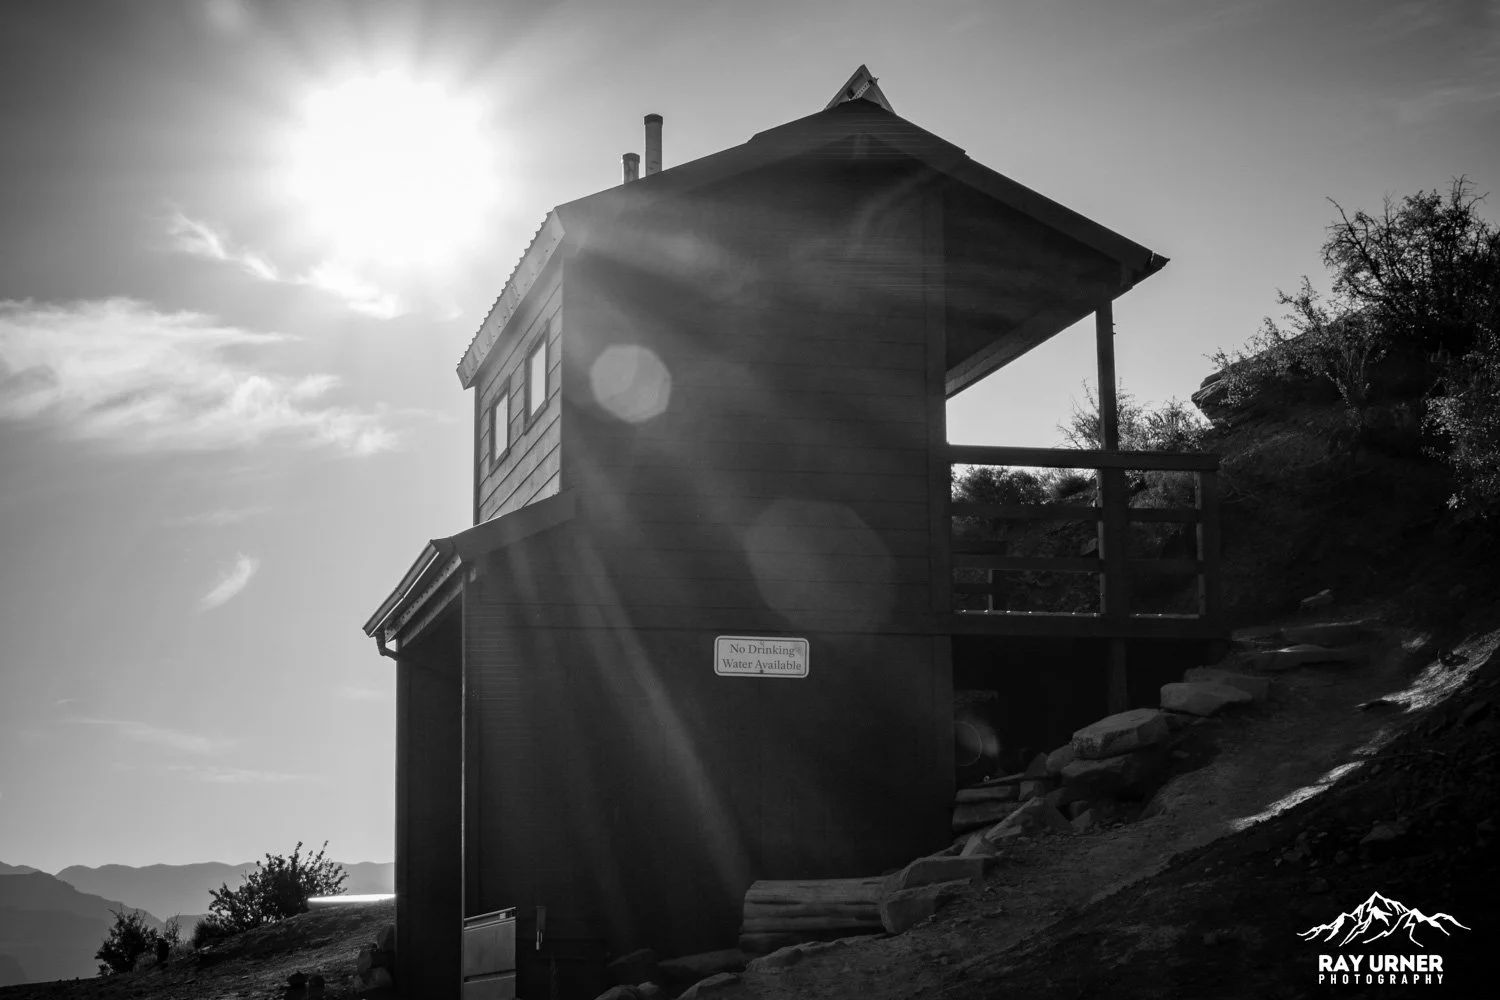
Cedar Ridge is a wide, flat area with restrooms (yes, actual outhouses!) and killer views. It’s a popular turnaround point for day hikers, but you? Me? Just getting started.
Geology & Ecology: You’re now in the Toroweap Formation, with red rock layers and more desert flora. Keep an eye out for Ravens—they’re smarter than they look.


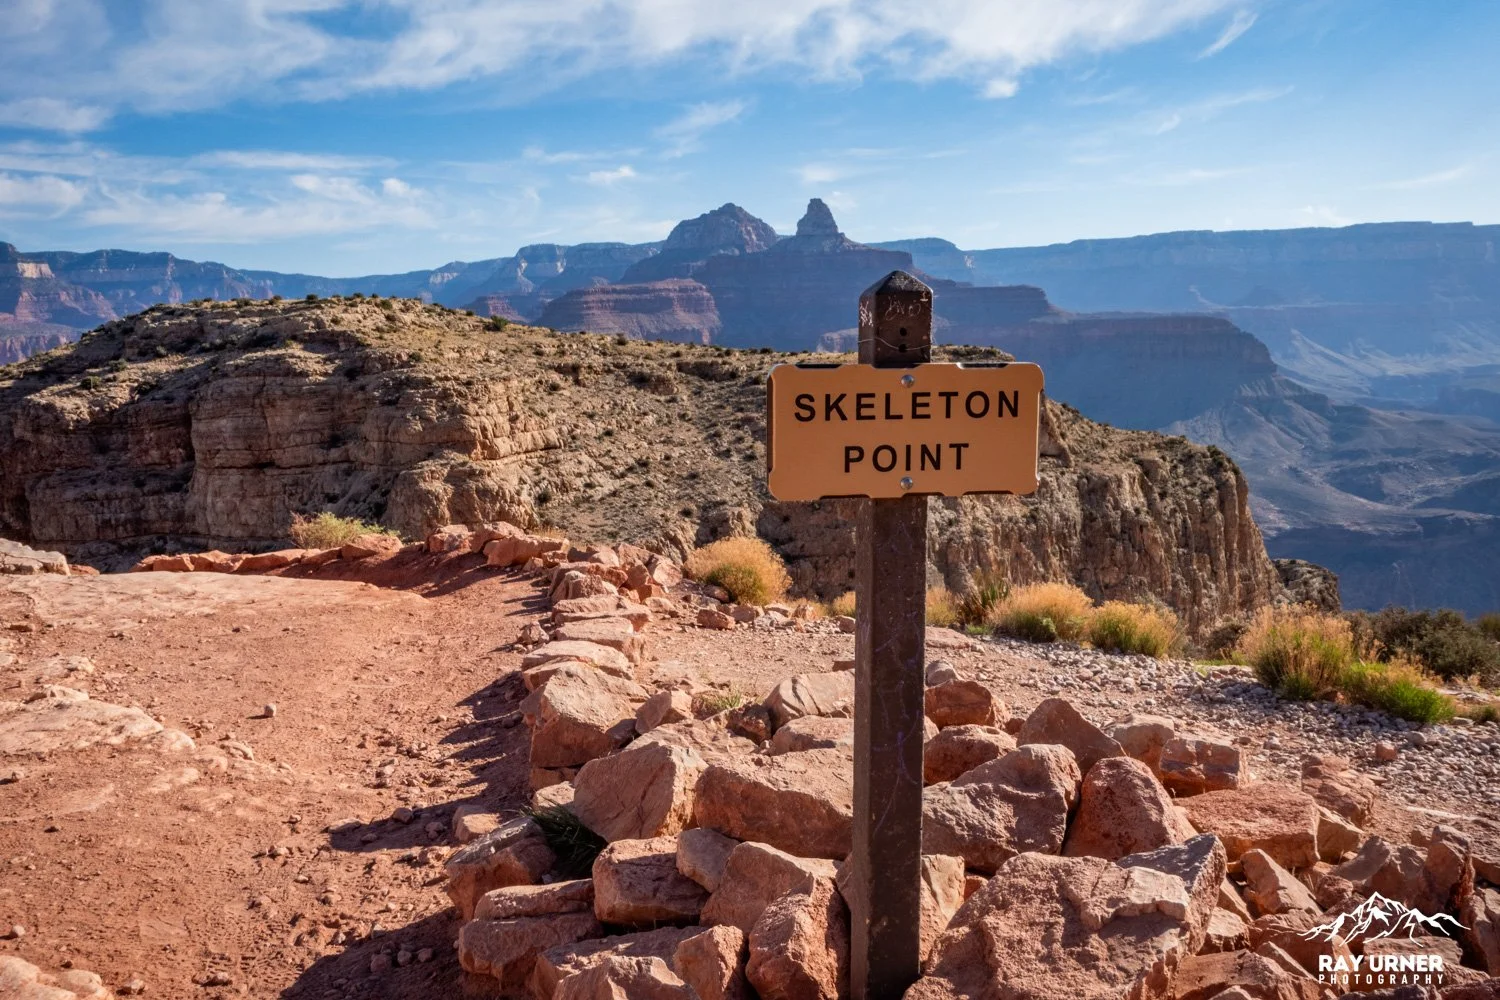
Cedar Ridge to Skeleton Point
Distance: ~1.5 miles
Elevation Loss: ~1,200 feet
Time: 7:30 AM – 8:30 AM
Temperature: ~55°F
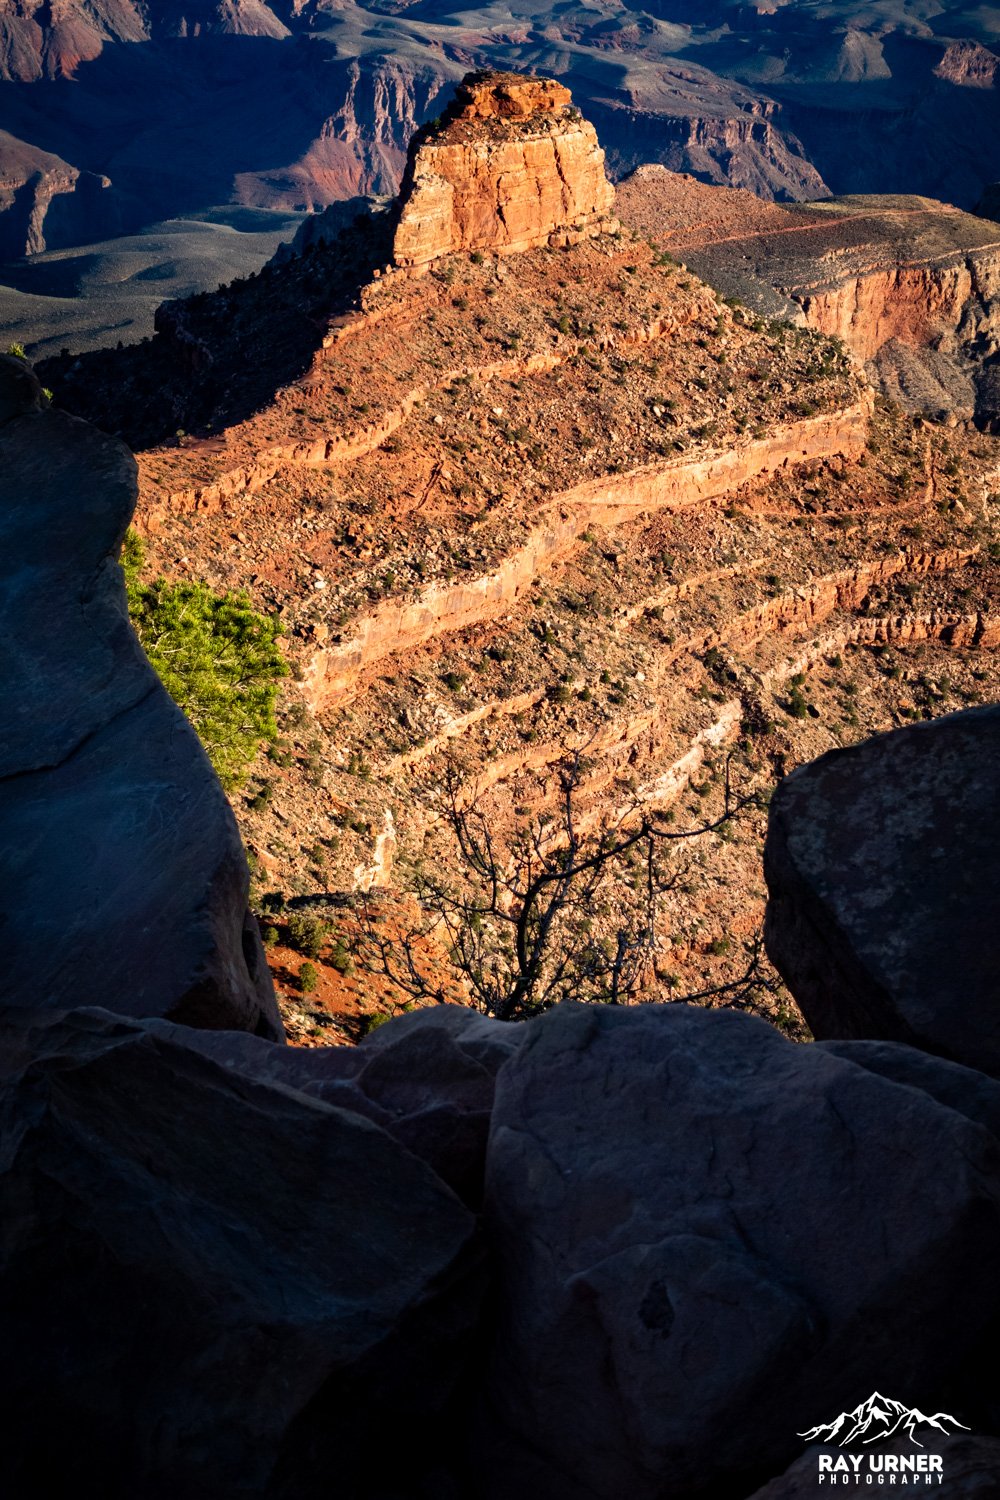
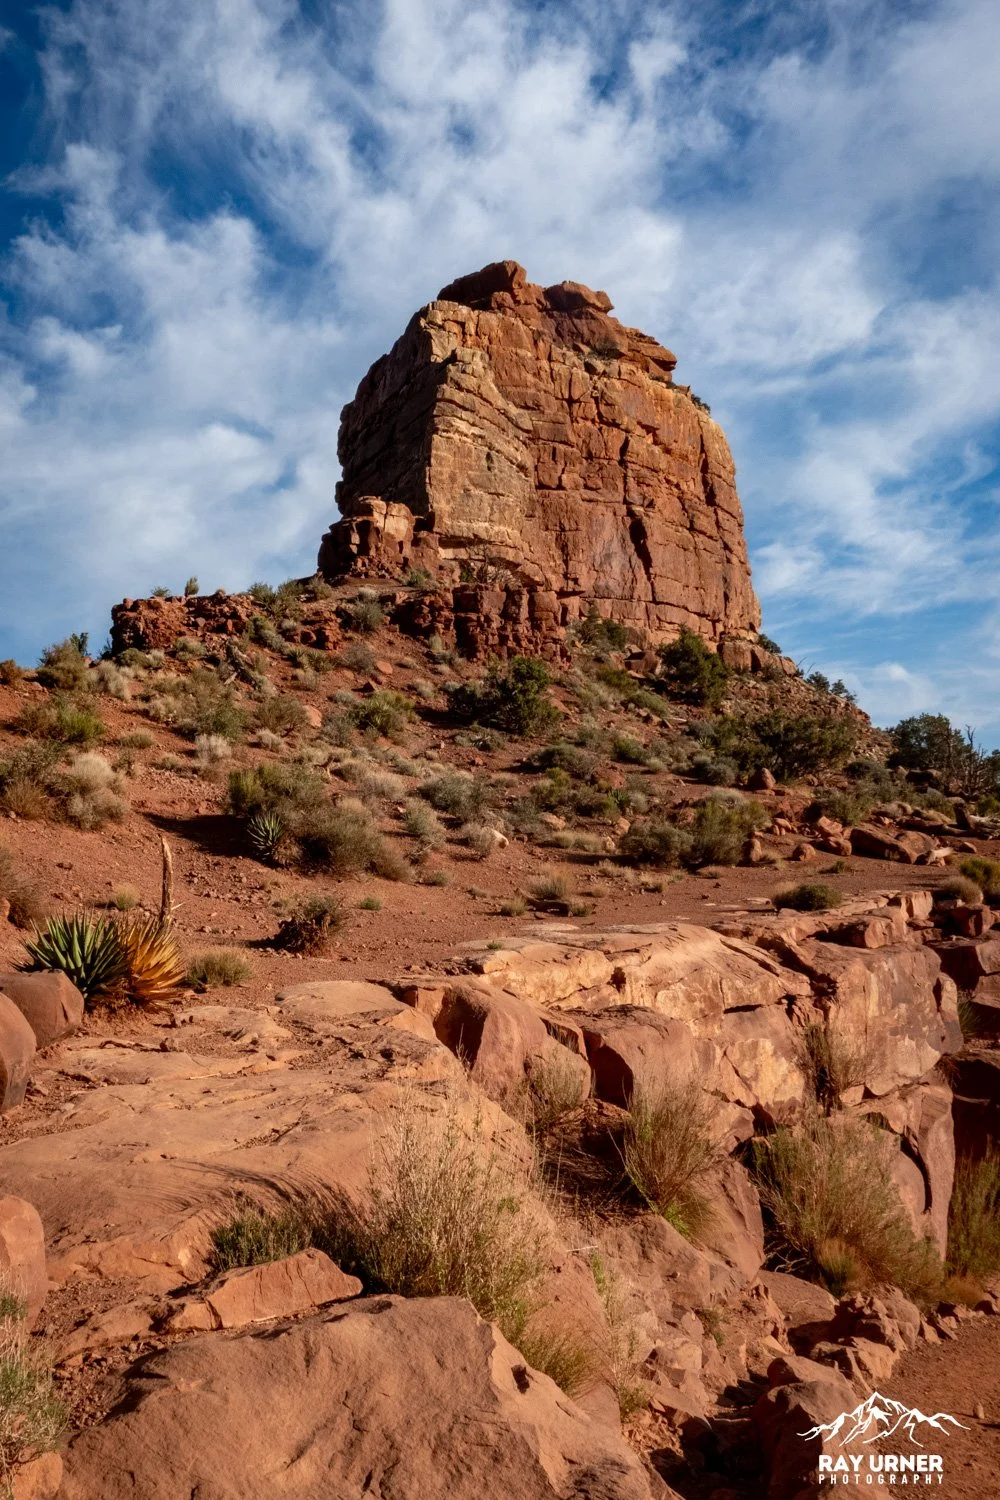
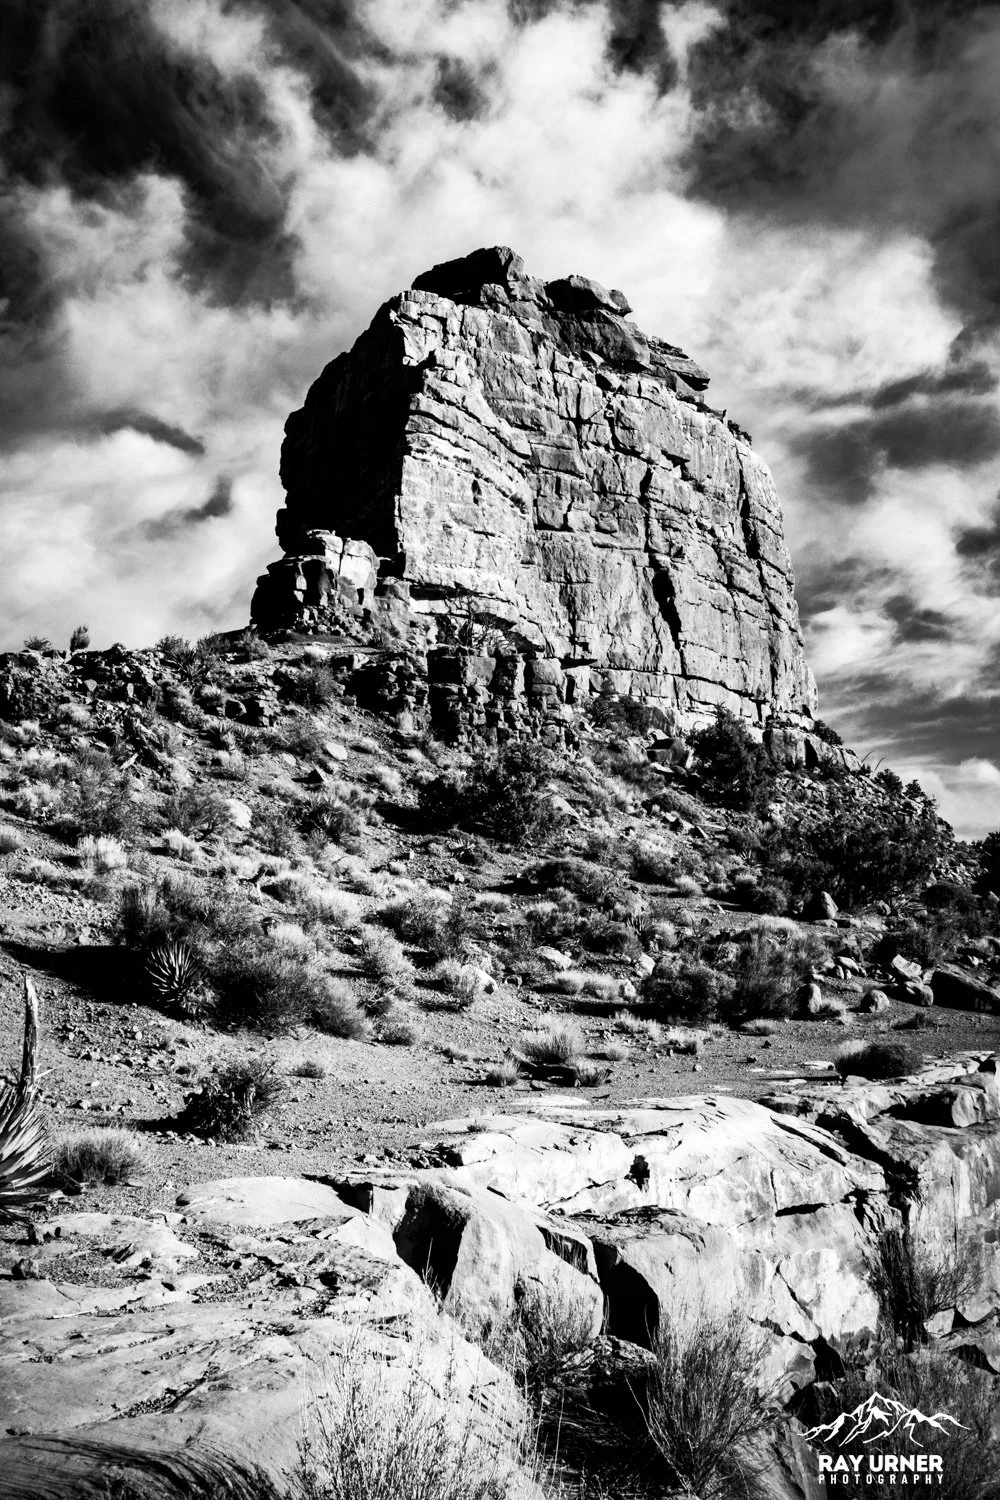
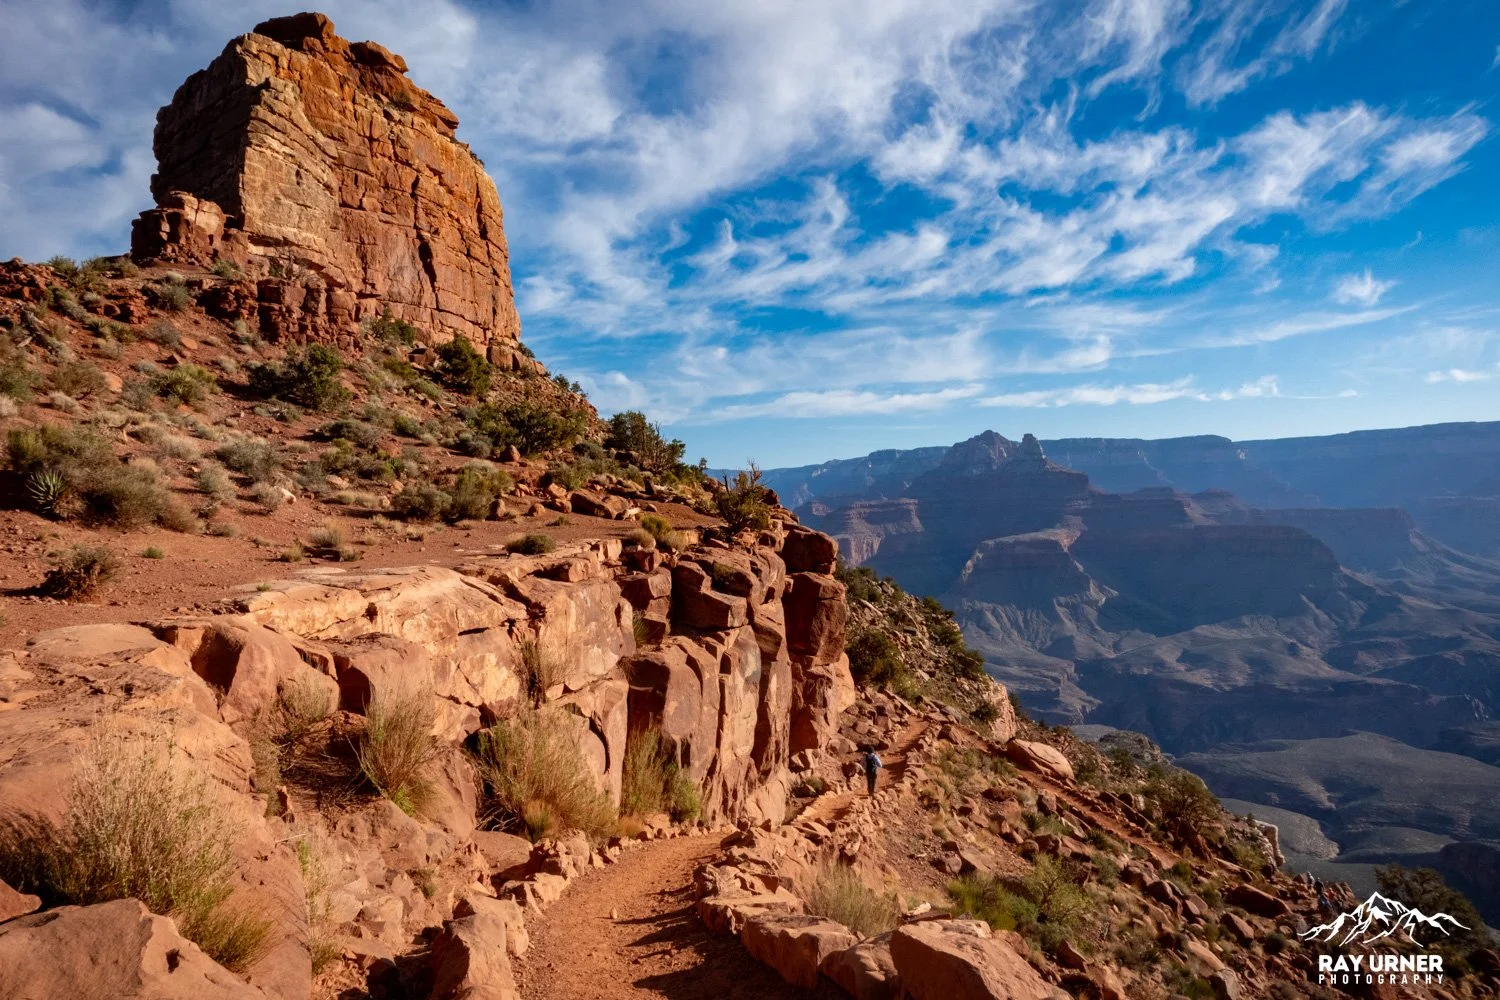
This section is where things get real. You’ll pass O’Neill Butte, a massive rock formation that looks like it belongs in a spaghetti western.
Geology & History: You’re descending through the Coconino Sandstone, once ancient desert dunes. Skeleton Point got its name from—you guessed it—bones found here. Mule bones. Hiker bones. Spooky.


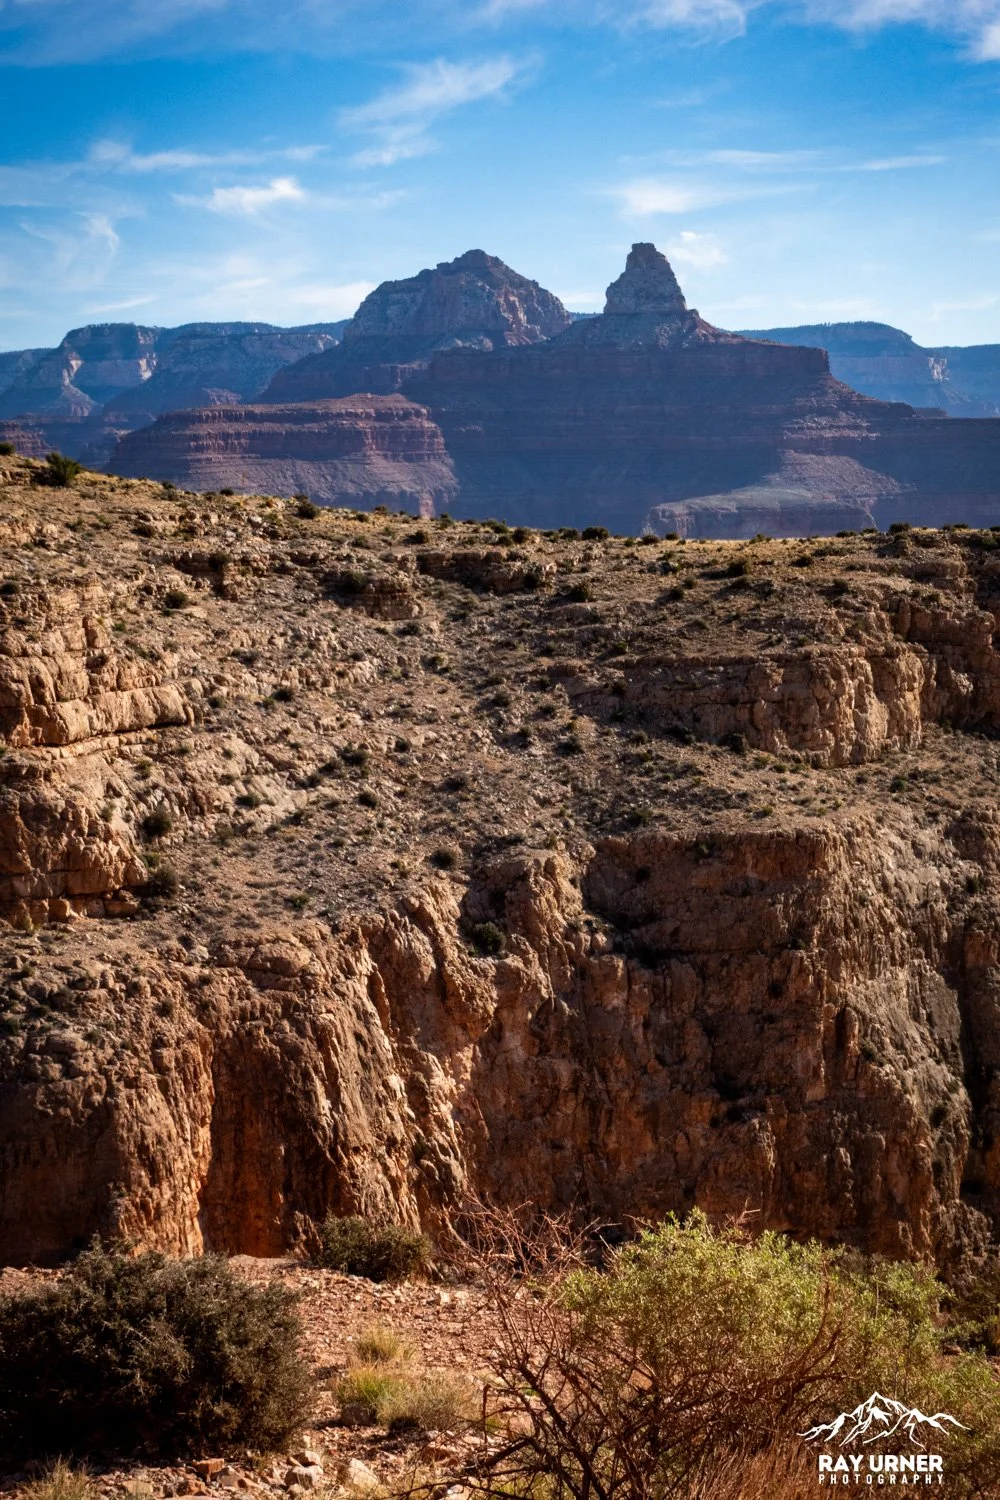

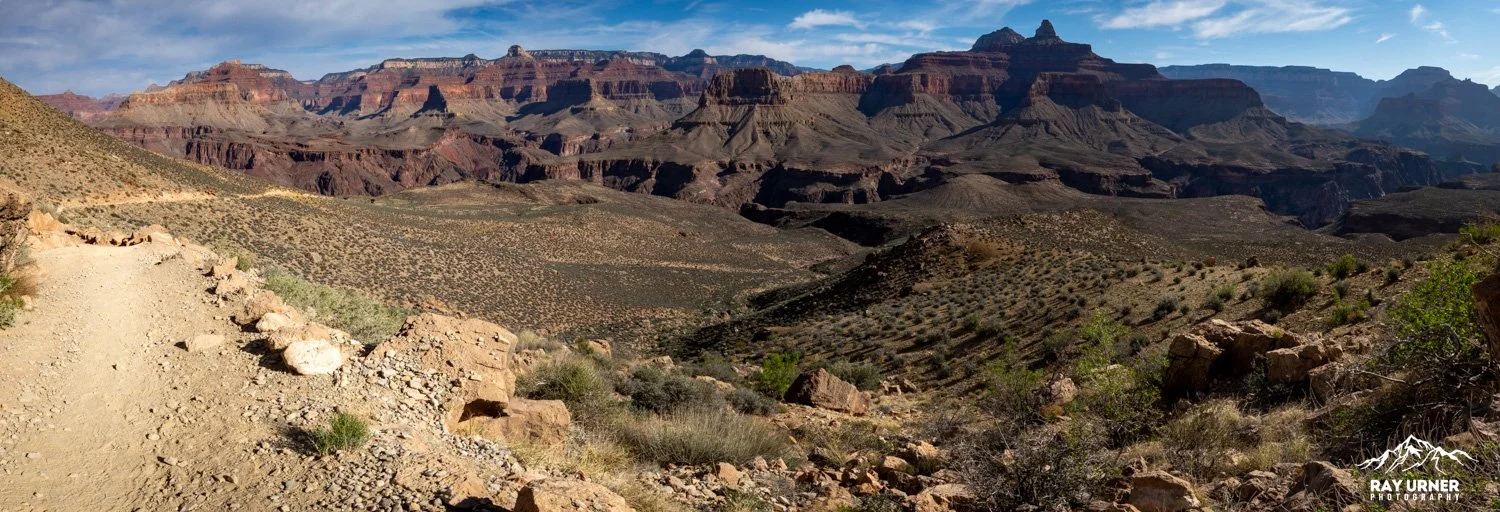
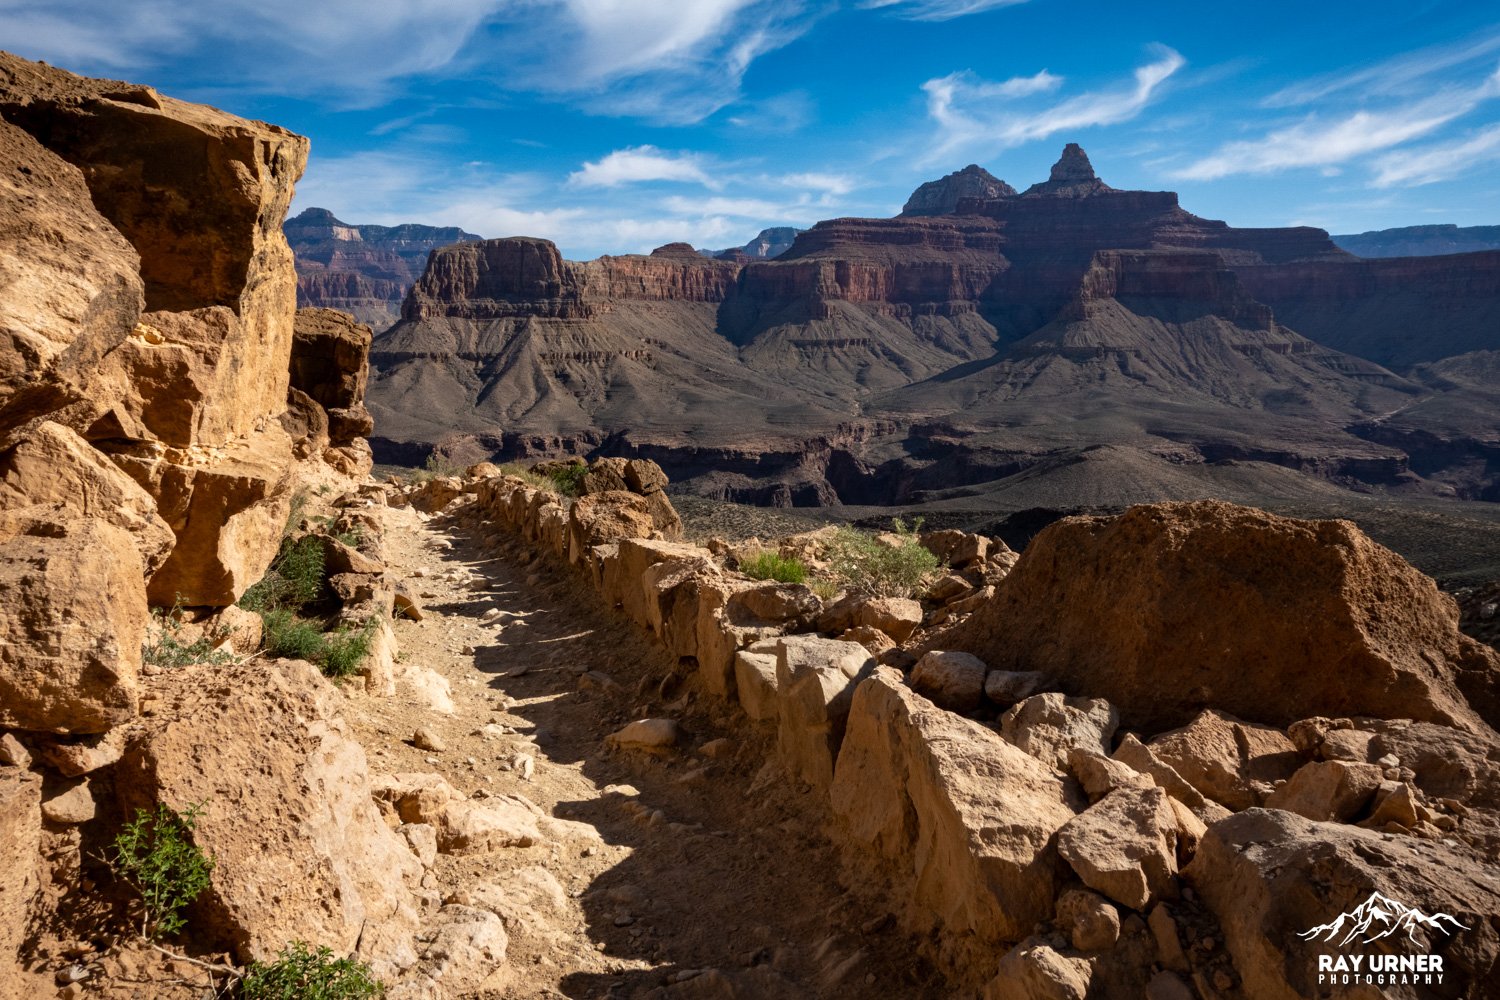
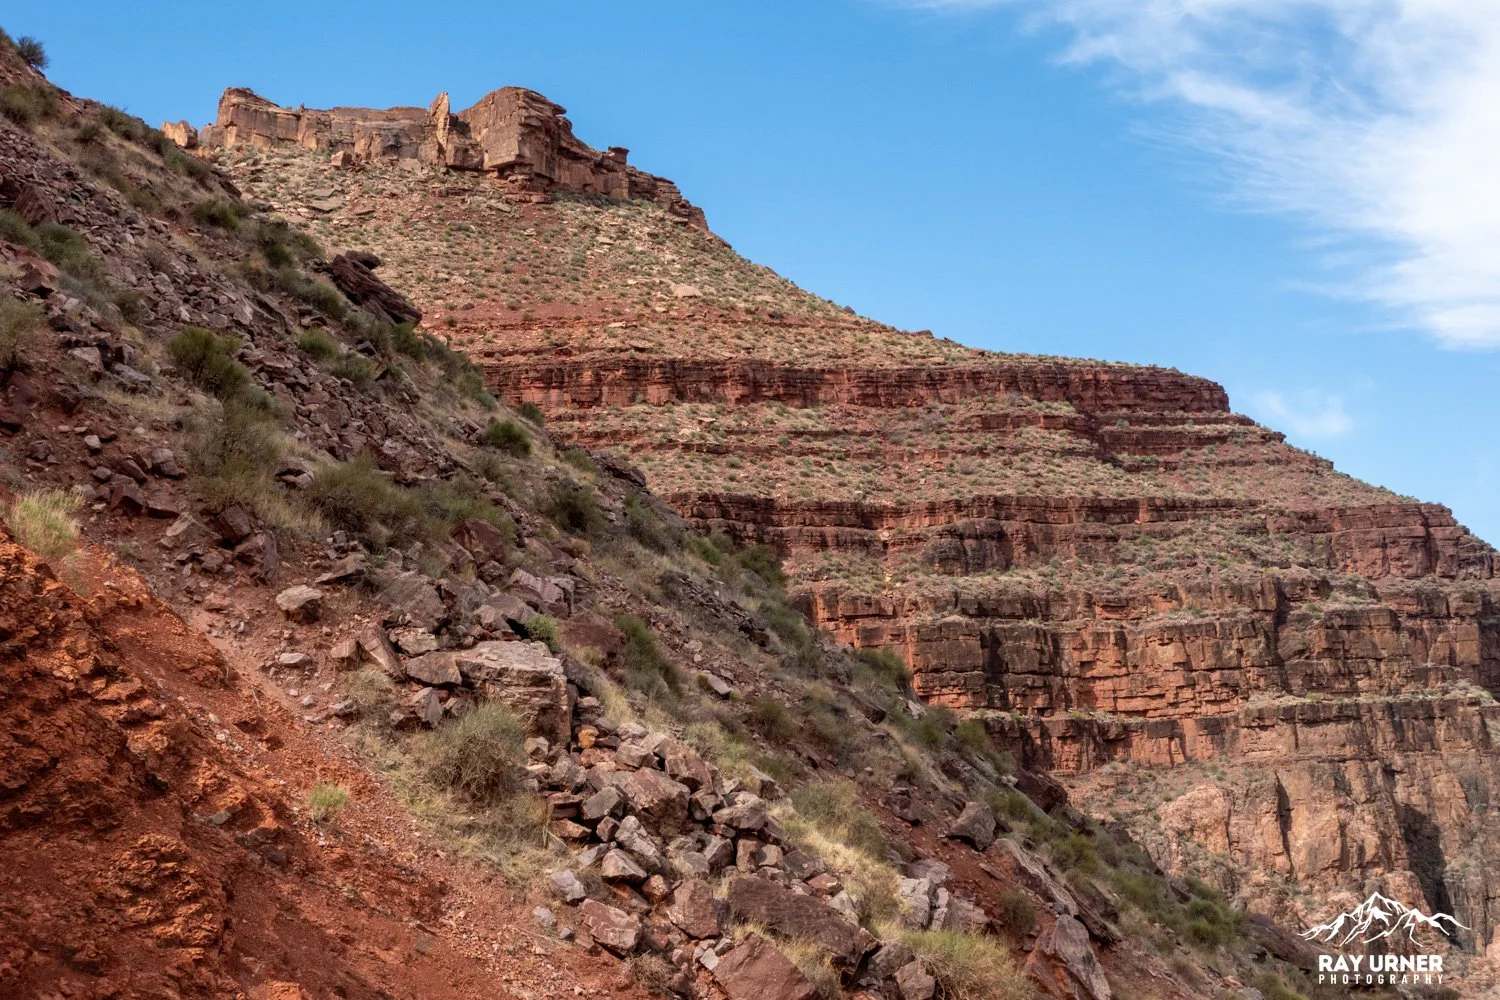
Skeleton Point to the Tip-Off
Distance: ~1.4 miles
Elevation Loss: ~1,000 feet
Time: 8:30 AM – 9:30 AM
Temperature: ~65°F
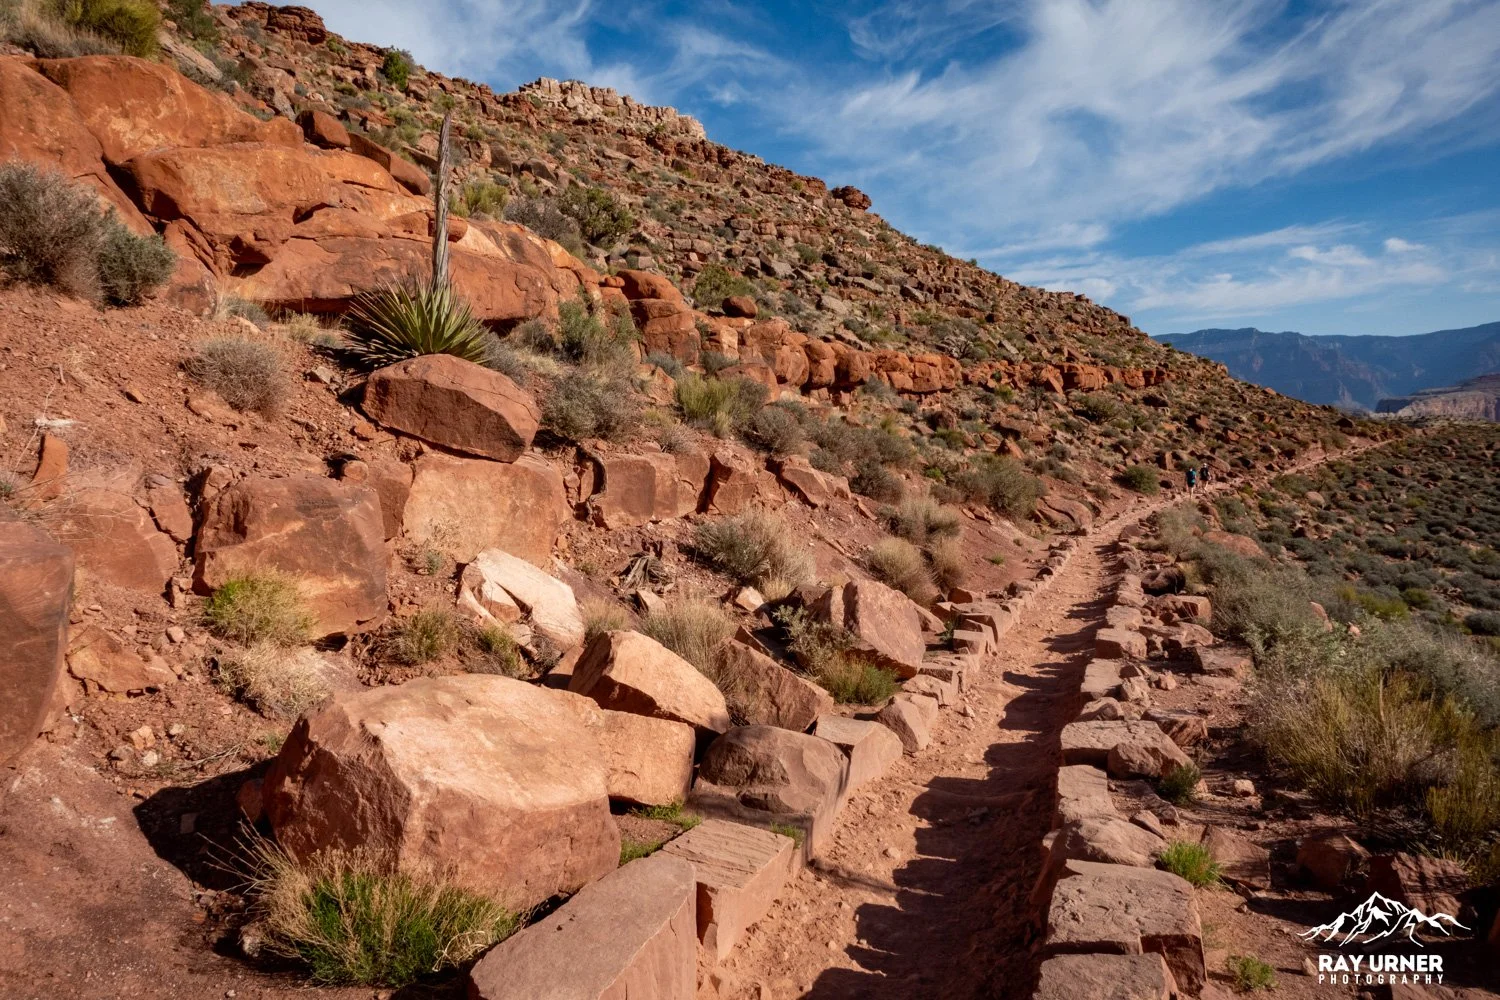
This stretch is steep and rocky. You’ll start to see more cactus and desert scrub.
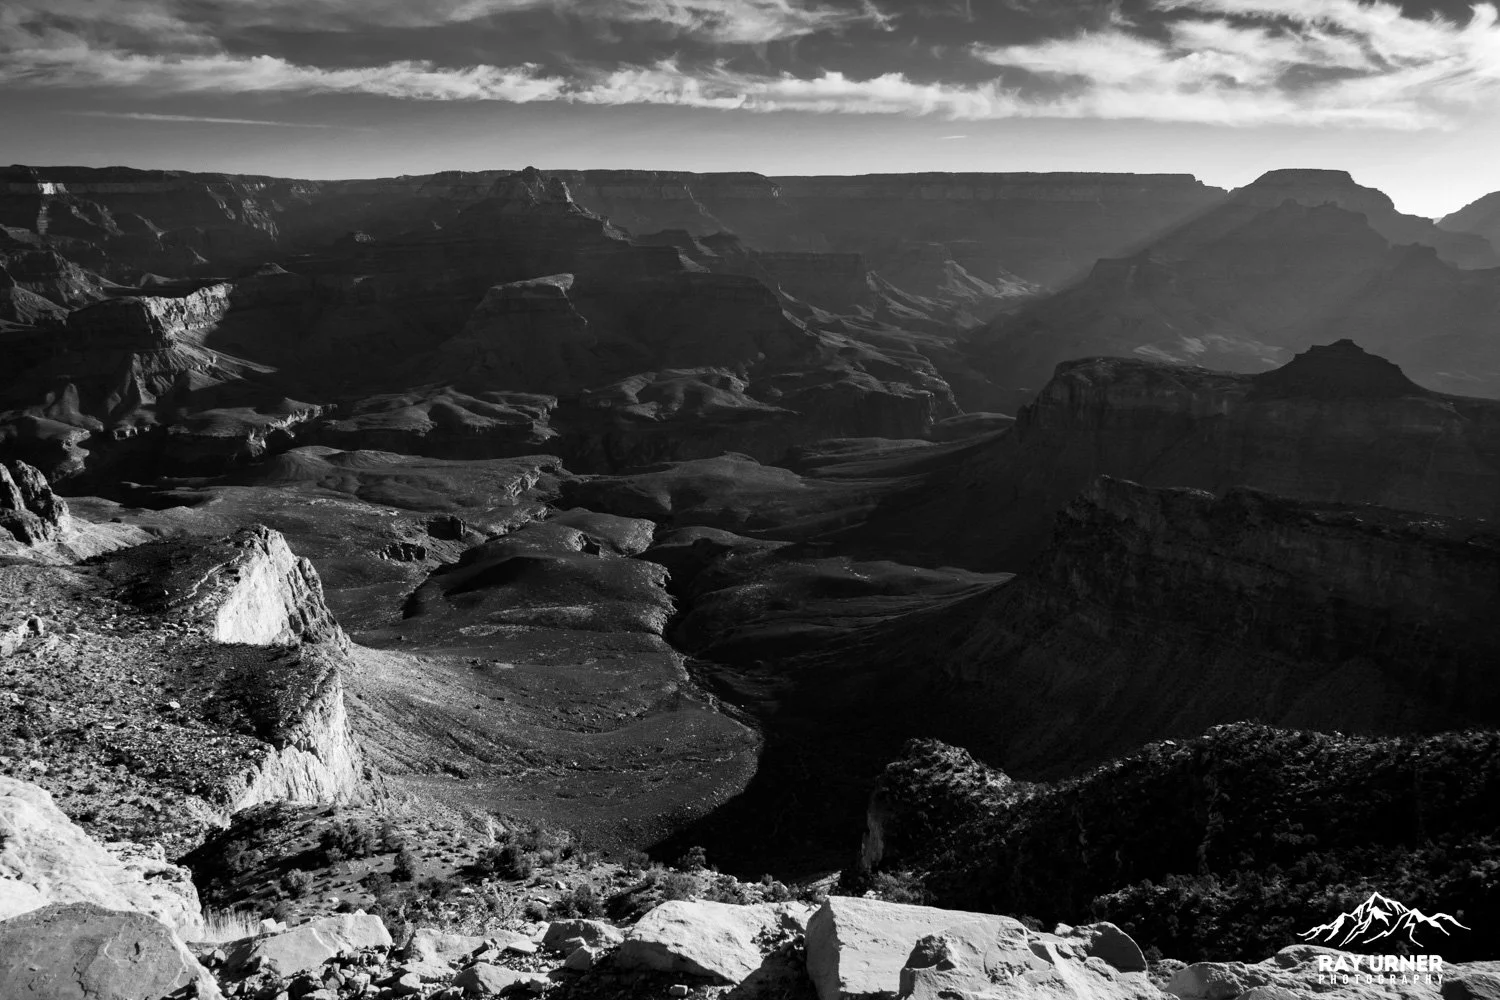
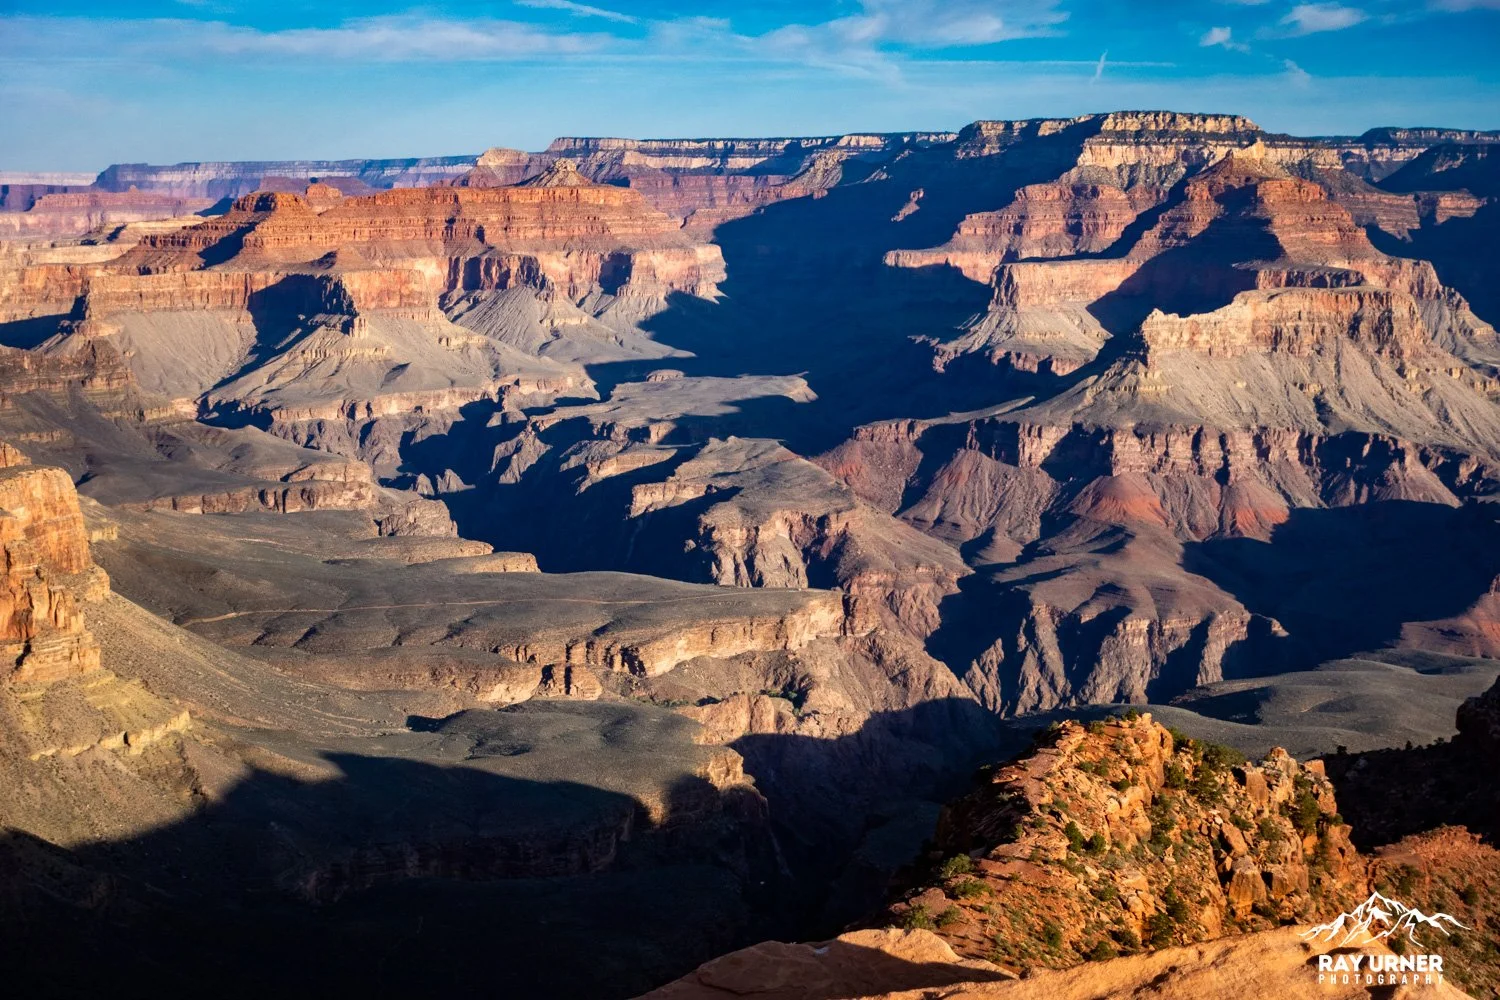
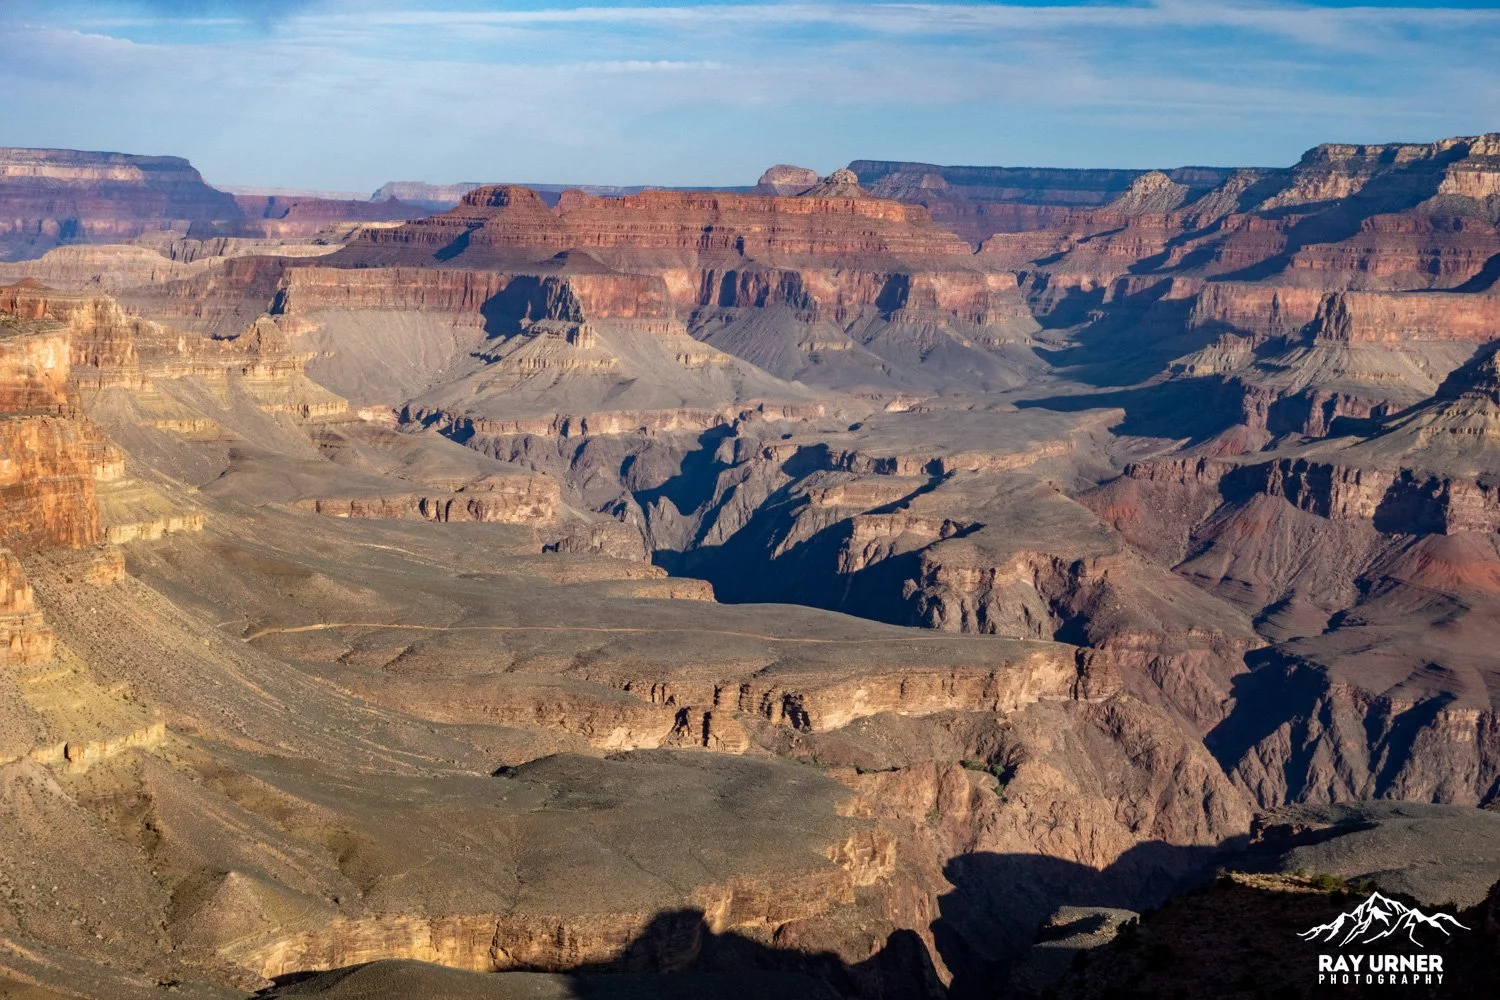
The Tip-Off is a junction point with the Tonto Trail and has composting toilets. It’s also a great place to mentally prepare for the final descent to the river. Speaking of the river, just down from The Tip-Off is where you will find your first view of the Colorado River—and it’s a long way down. You’ll feel tiny, and that’s okay. It’s part of the magic.
Geology: You’re now in the Hermit Shale and Supai Group, with deep reds and purples. It’s like hiking through a geology textbook.


Tip-Off to the Black Bridge
Distance: ~1 mile
Elevation Loss: ~1520 feet
Time: 9:30 AM – 10:15 AM
Temperature: ~70°F
The final stretch to the bottom! You’ll pass through a tunnel before crossing the Black Bridge, a suspension bridge built in 1928. It’s sturdy, but don’t look down if you’re squeamish.
Mule Etiquette: If you see mules, step to the inside of the trail, stay quiet, and let them pass. They’re working hard, and they don’t like surprises.
Geology: You’re entering the Vishnu Schist, some of the oldest rock on Earth—over 1.7 billion years old. Mind = blown.


Black Bridge to Phantom Ranch
Distance: ~0.5 miles
Elevation Loss: ~100 feet
Time: 10:15 AM – 10:30 AM
Temperature: ~75°F
You’ll walk along the river and pass the big water pipe replacement project (but more on that later). This critical infrastructure is why some trails are closed or rerouted—check ahead before your hike!


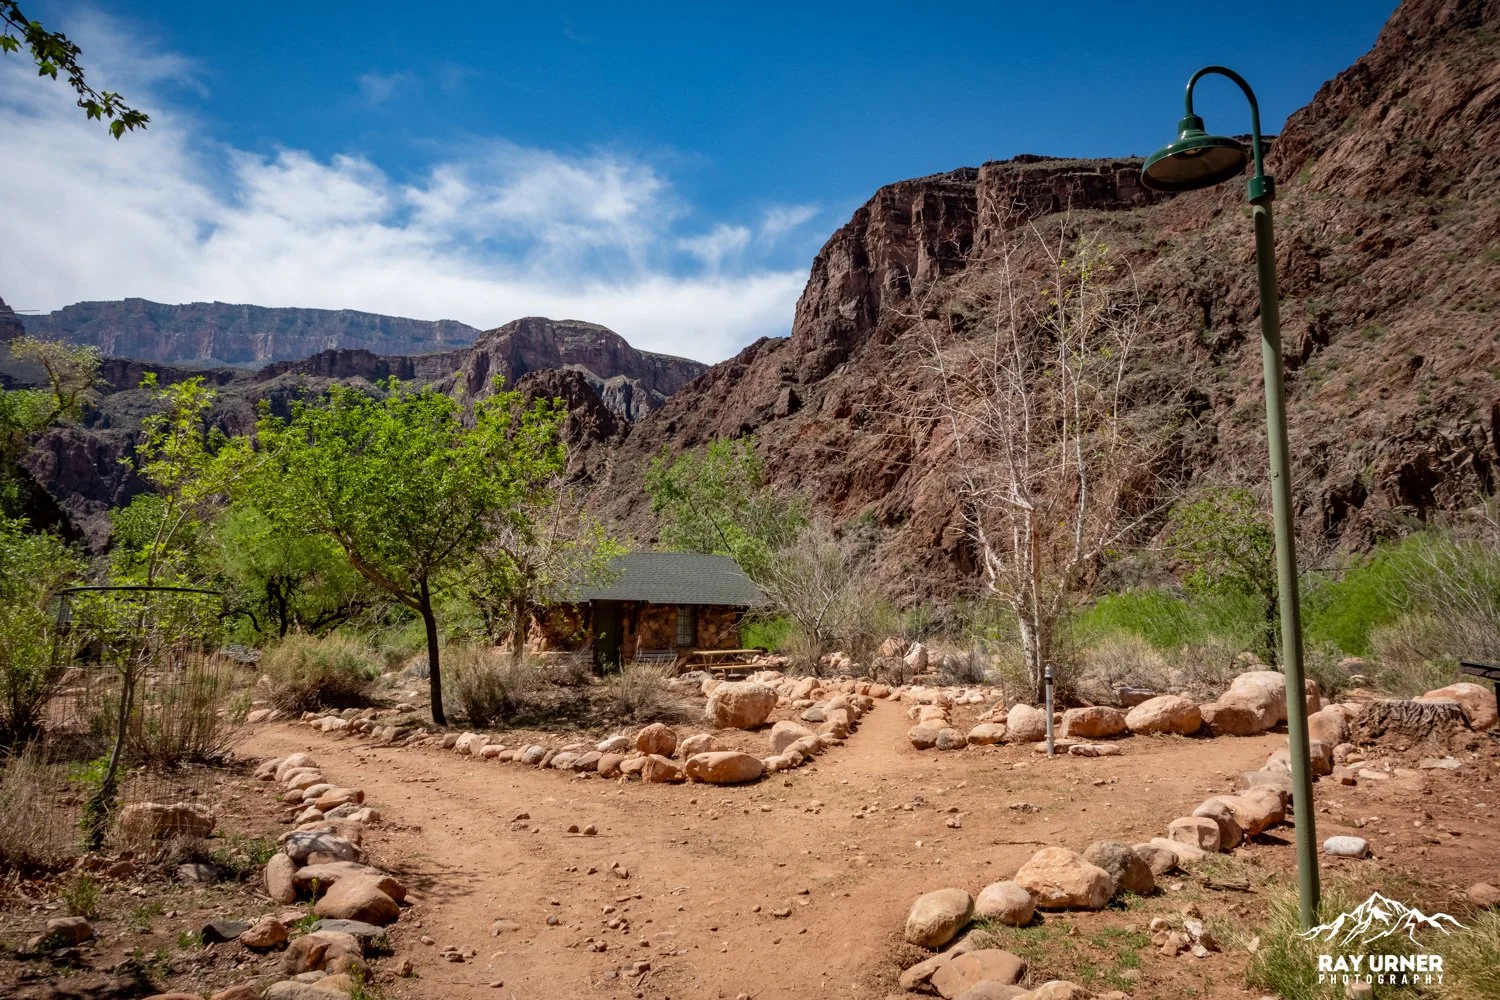
Phantom Ranch
Time at Ranch: 10:30 AM – 11:15 AM
Temperature: ~80°F
Phantom Ranch is a desert oasis. There’s a canteen where you can buy lemonade, snacks, and even mail a postcard that says “Mailed by Mule.” The lodge is cozy, the shade is heavenly, and most importantly, the beer is cold..
Things to Do:
Refill water
Eat snacks
Buy a lemonade or a beer (I figured I deserved a beer)
Sit in the shade and contemplate your life choices
Mail a mule-powered postcard


Phantom Ranch to the Tip-Off (via Bright Angel Detour)
Distance: ~2 miles
Elevation Gain: ~1520 feet
Time: 11:15 AM – 12:30 PM
Temperature: ~85°F
Due to trail closures, you’ll detour around to rejoin the Tonto Trail.
But first things first, back over the Black Bridge! And the area is known for Bighorn Sheep, so keep your eyes peeled - And remember, keep your distance from all wildlife!


Tonto West Trail to Havasupai Gardens
Distance: ~4.5 miles
Elevation Gain: ~600 feet
Time: 12:30 PM – 3:30 PM
Temperature: ~90°F+
This section is exposed and hot. Bring a sun hat, sunscreen, and drink water like it’s your job. The views are stunning, but the heat is relentless. Mentally, I think this was the hardest part of the hike. Even though it was quite flat, the hear was beyond draining. But every now and again you could see your next destination, which is the junction with the Bright Angel Trail at Havasupai Gardens.
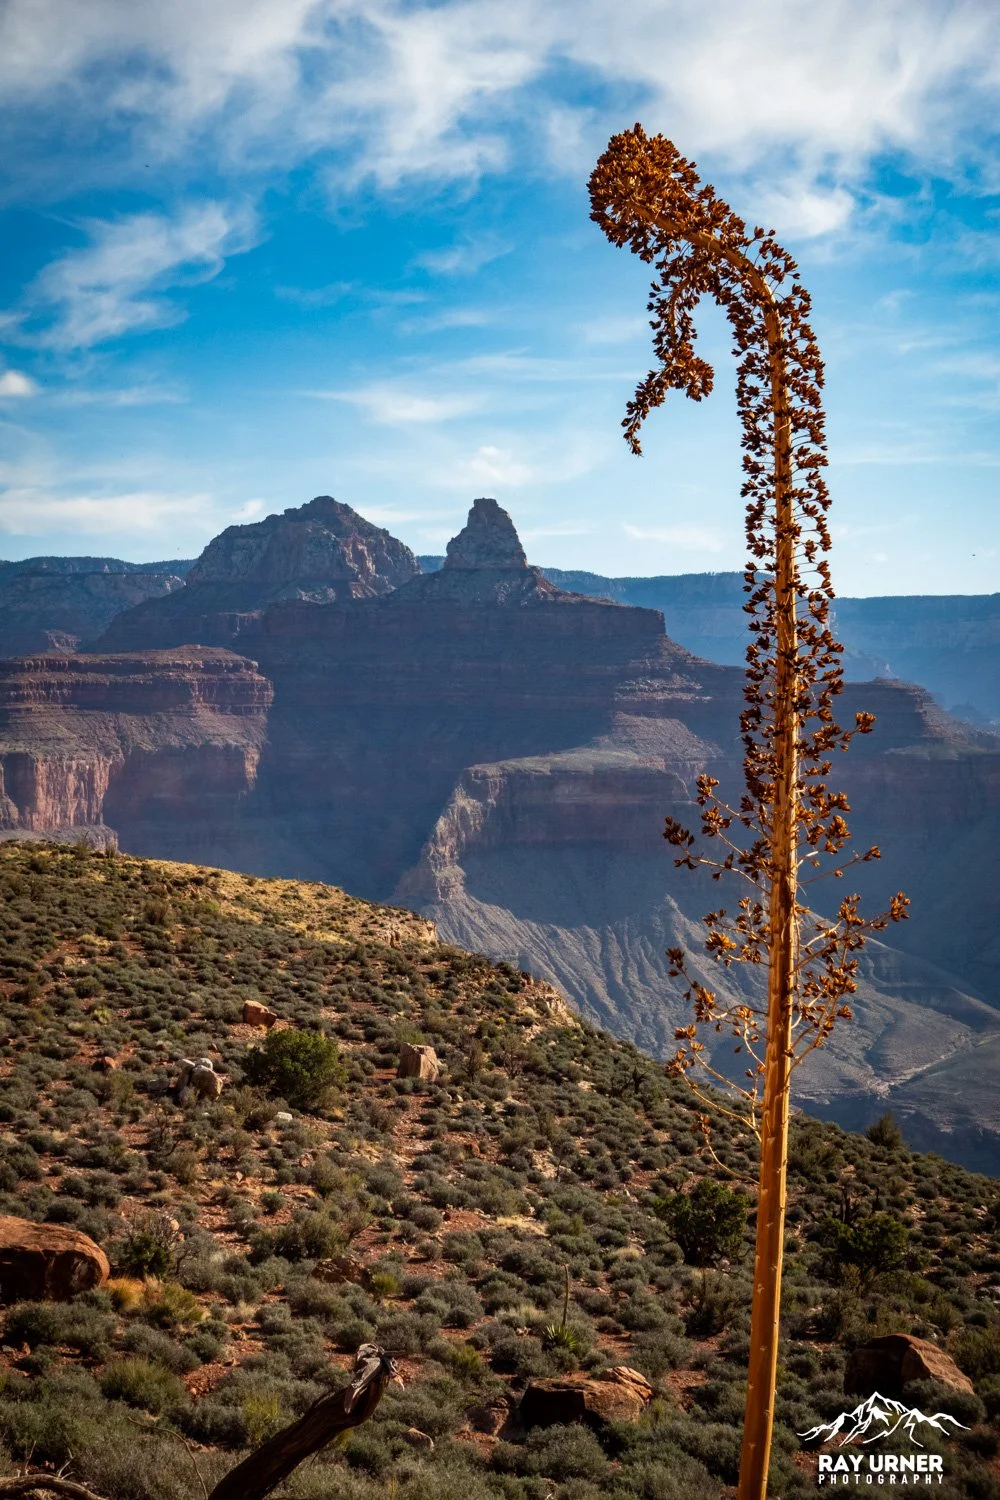
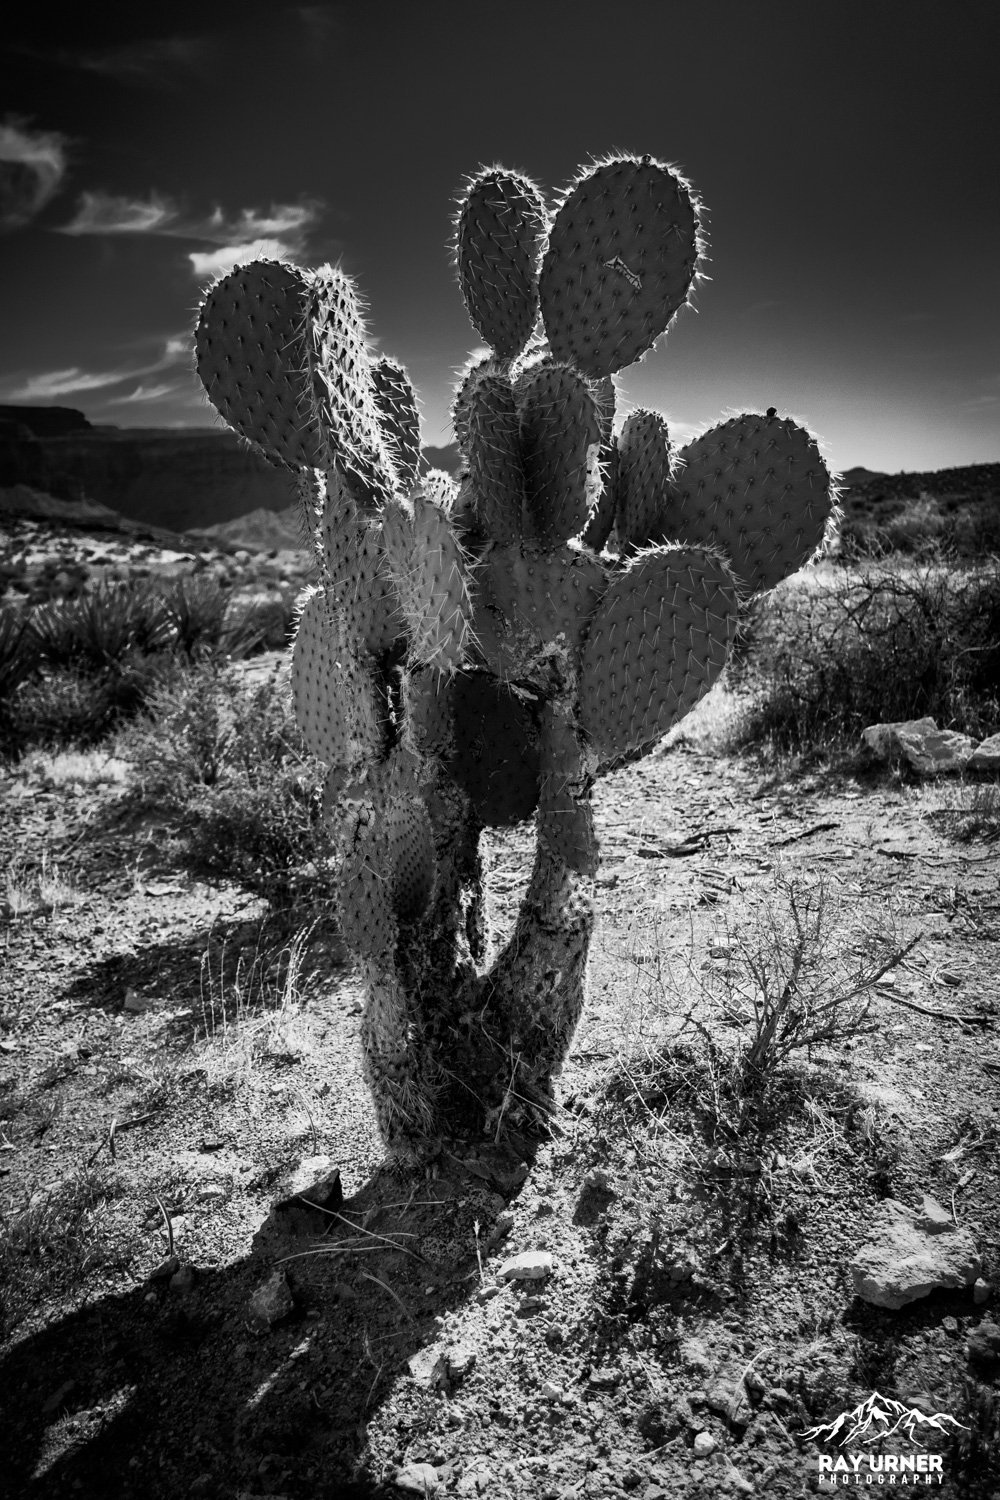
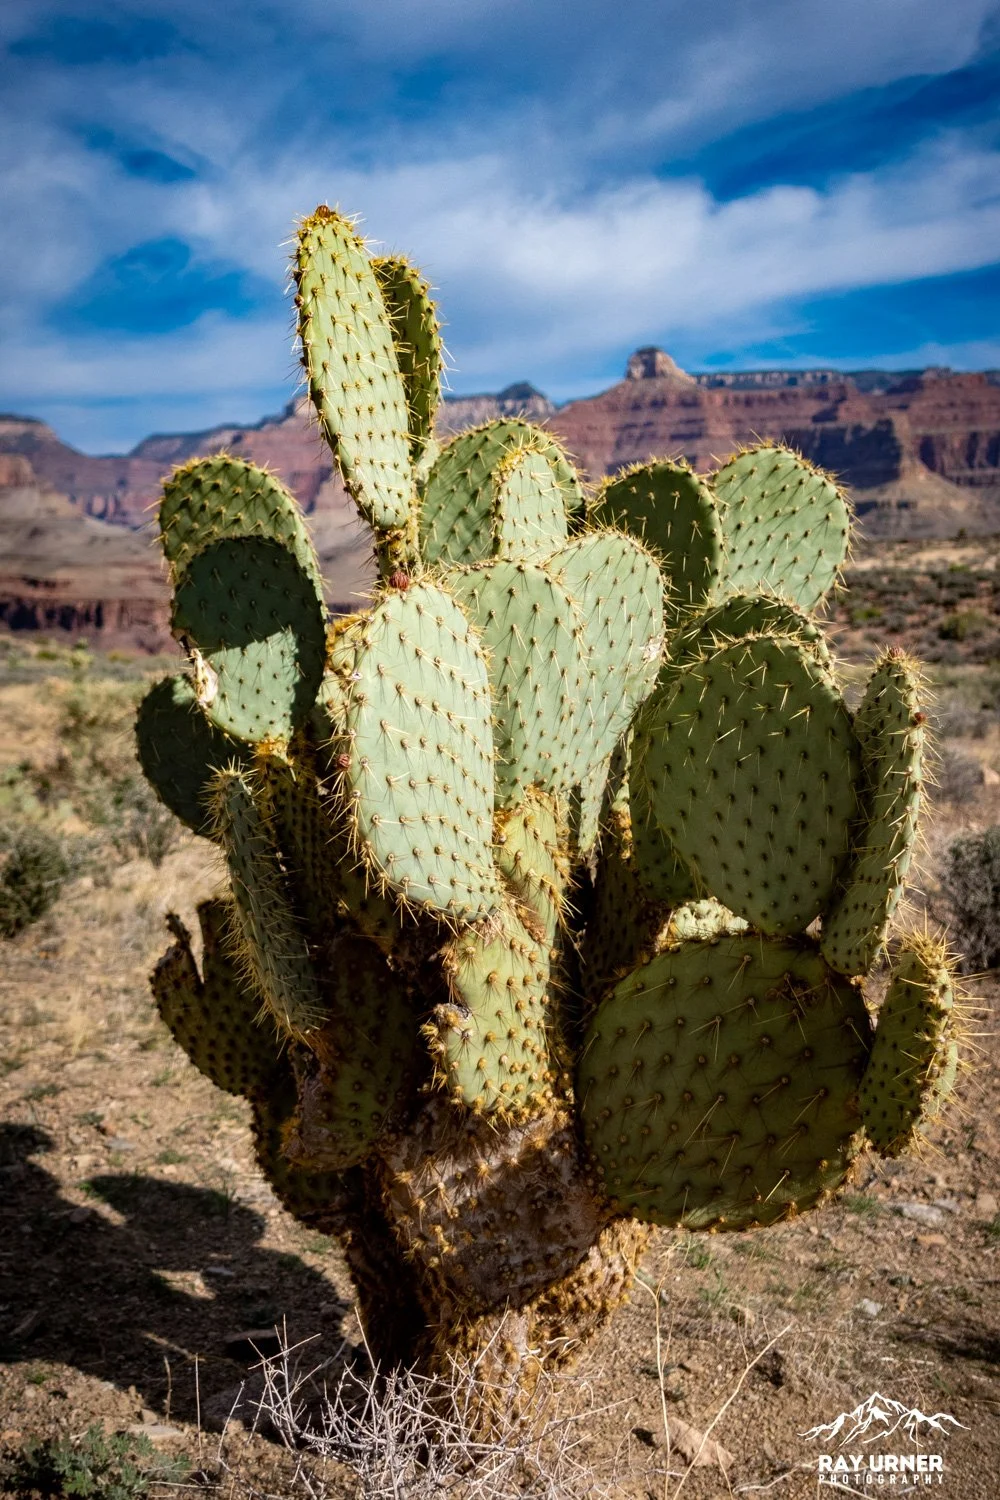
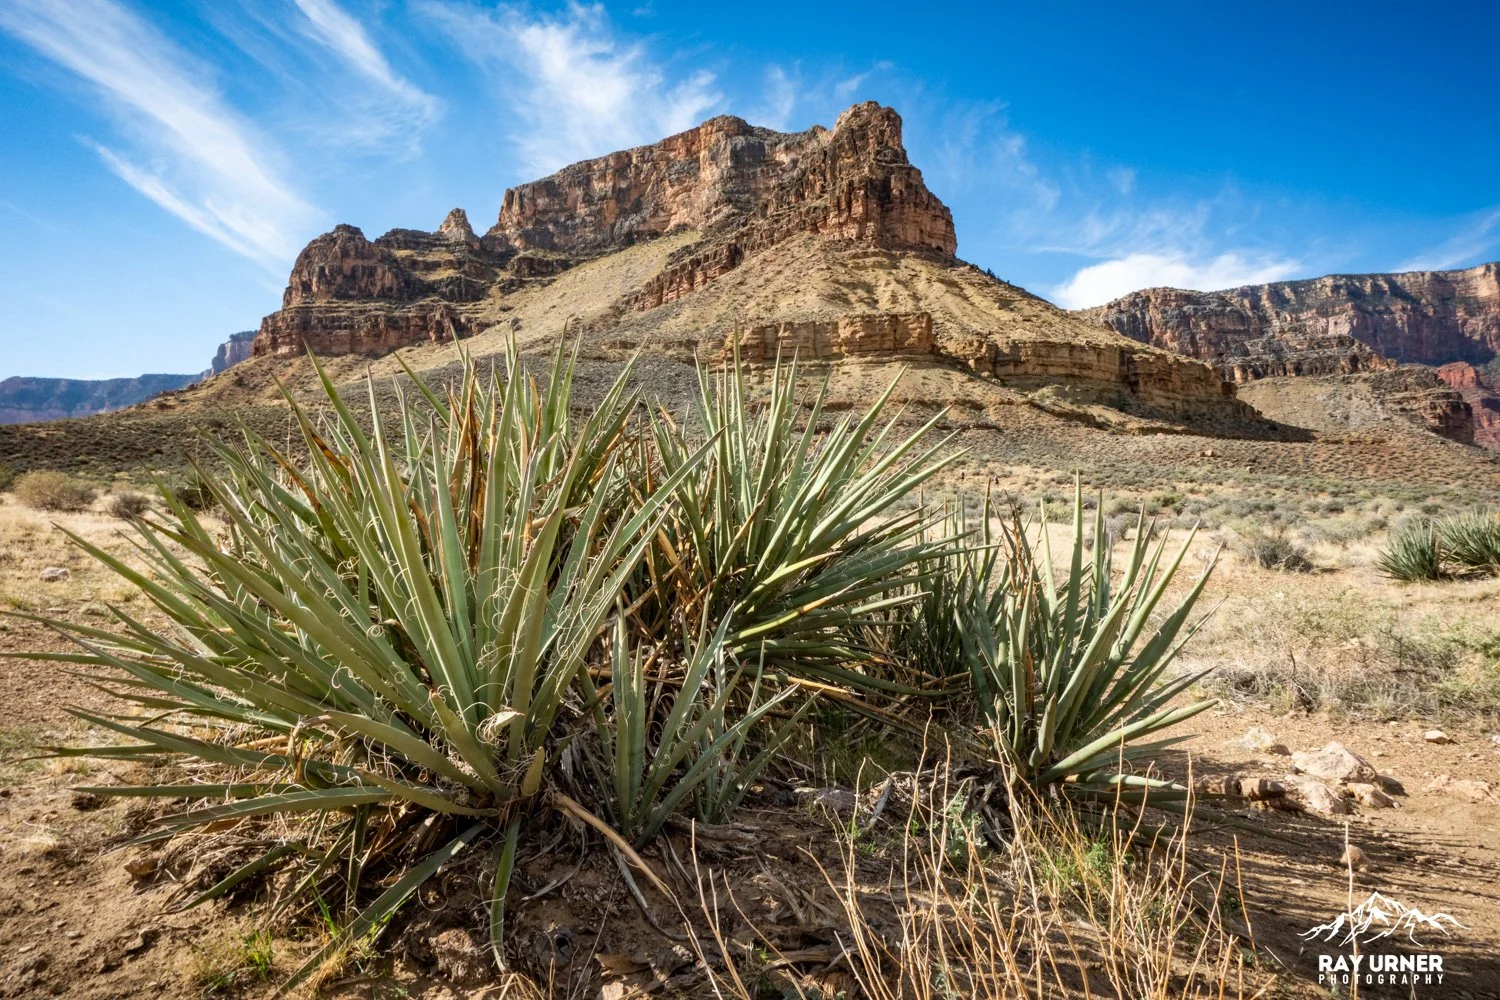
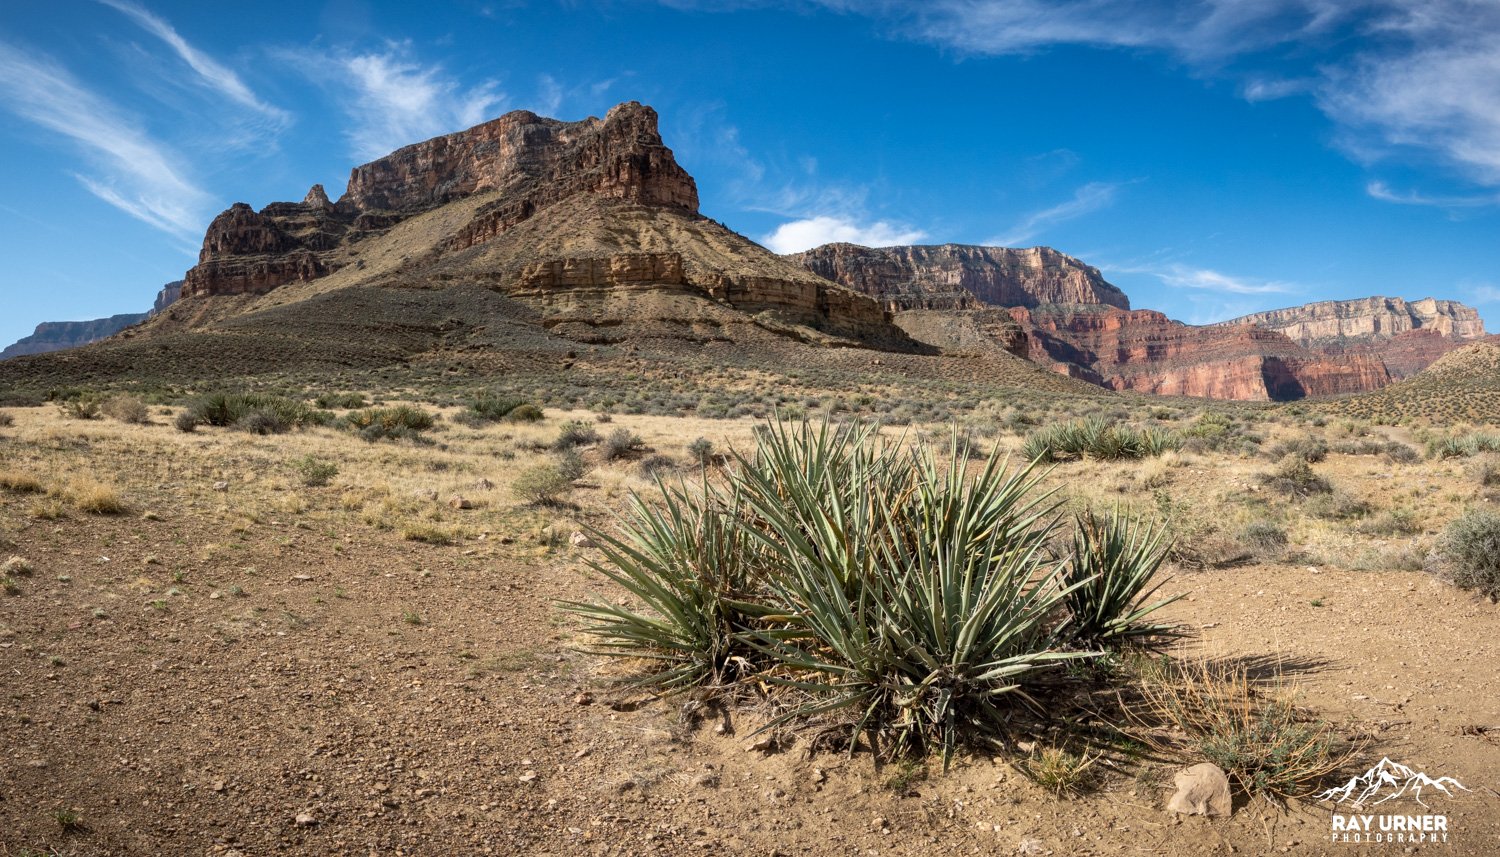
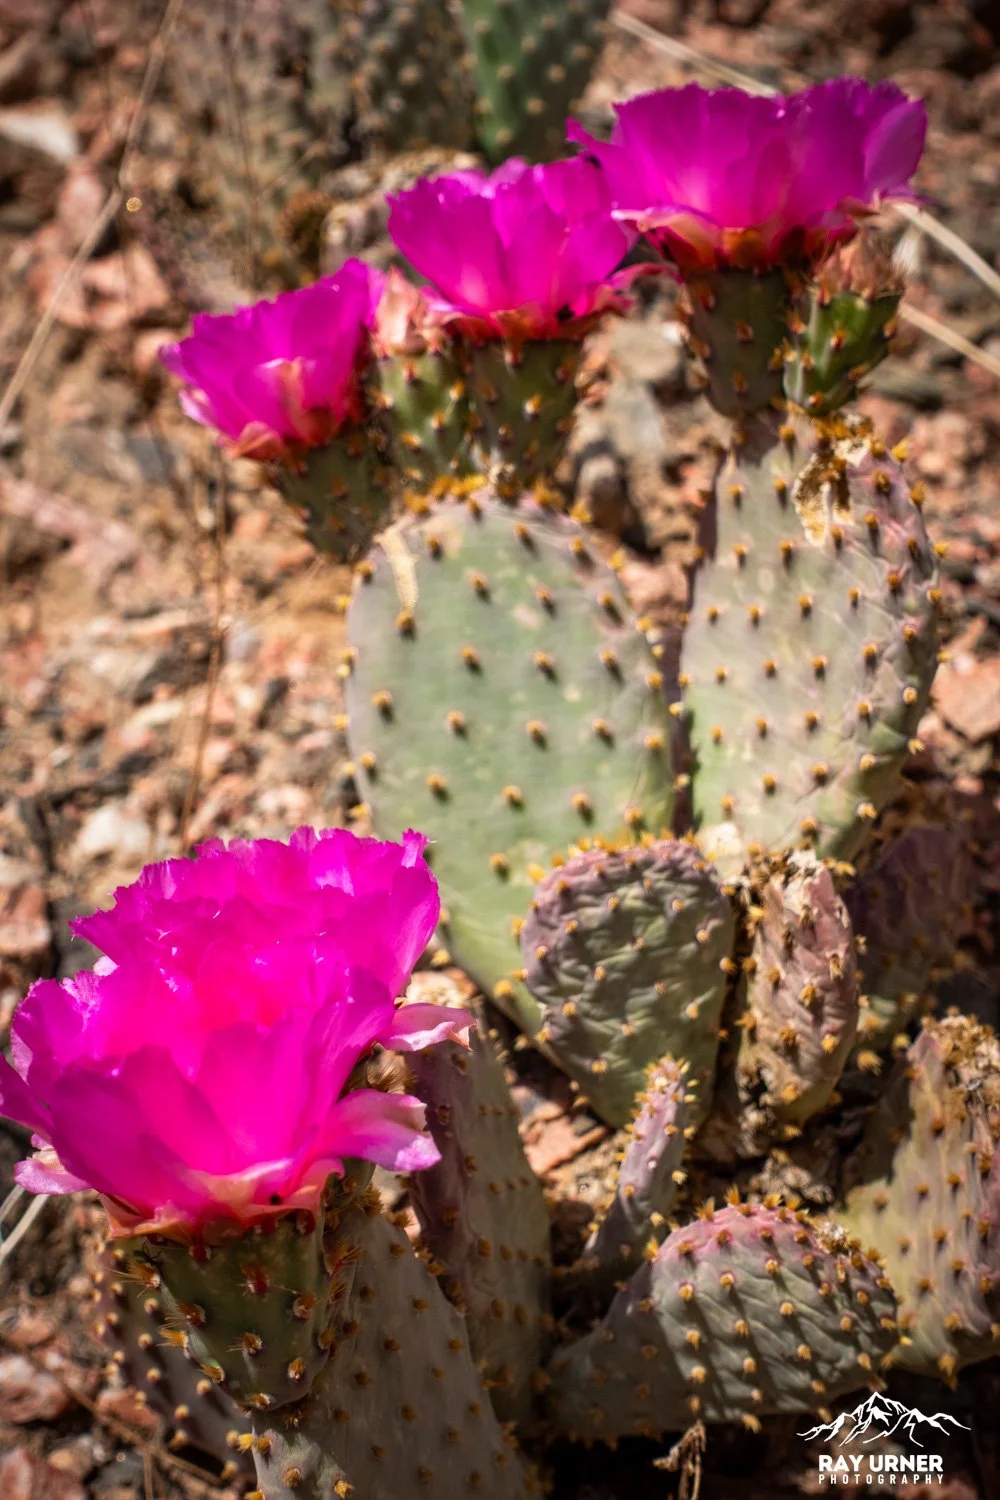
Ecology: You’ll see hardy desert plants like Agave and Prickly Pear. They’re thriving. You might not be.
Havasupai Gardens is a GREAT spot to chill for a few moments. Refill your water and have some carbs, because business is about to pick up!


Havasupai Gardens to the Top of Bright Angel Trail
Distance: ~4.8 miles
Elevation Gain: ~3,000 feet
Time: 3:30 PM – 6:52 PM
Temperature: ~80°F cooling to ~65°F
This is the final boss level. Endless switchbacks, steep climbs, and the occasional hallucination of a cheeseburger. I know, not a whole lot of photos from this stretch - Sorry not sorry, was trying to not die, ya know?
Water & Bathrooms: There are water refill stations at 1.5 Mile Resthouse and 3 Mile Resthouse, plus outhouses. Use them. Love them.


And of course, the AFTER picture.
Somehow still smiling!
You know what’s kind of funny, I fully planned on devouring a pizza after this, in about 5.5 seconds flat. But not so much, I had literally zero appetite, and it didn’t actually come back until the following afternoon. So instead of the pizza, I went back to my room in the Bright Angel Lodge, showered all the dirt off, cracked a beer, and passed out. After 32 km and a bit over 12 hours, that was quite possibly the best sleep of my life!
Safety Tips for This Epic Hike
Start early (I wish I could have started earlier than 6:30 AM, but the shuttle made the schedule for the day)
Bring electrolytes and snacks
Wear sun protection
Know your limits—this hike is not for beginners
Check trail conditions before you go
Respect the canyon—it’s beautiful, but it doesn’t mess around
What’s Up with the Water Pipe Replacement Project?
If you noticed construction signs, detours, or helicopters buzzing overhead during your hike—congrats, you witnessed history in the making. The Grand Canyon is undergoing a major water infrastructure upgrade, and it’s a big deal.
What Is the Transcanyon Waterline (TCWL)?
Originally built in the 1960s, the TCWL is a 12.5-mile pipeline that carries water from Roaring Springs on the North Rim to Havasupai Gardens and then up to the South Rim. It supplies potable water and fire suppression for all South Rim facilities and many inner canyon locations—including Phantom Ranch.
But after decades of wear and tear, the aluminum pipe has become a canyon-sized headache. Since 2010, there have been over 85 major breaks, each costing upwards of $25,000 to fix and requiring trail or helicopter access.
Why Replace It?
Frequent failures disrupt water delivery and visitor services.
Repairs are dangerous and expensive.
Environmental impact from leaks and emergency fixes.
Visitor experience suffers—think closed showers, laundry, and water refill stations.
What’s Changing?
The new system is a complete modernization, not just a patch job. Key upgrades include:
Relocating the water intake from Roaring Springs to Bright Angel Creek near Phantom Ranch, reducing pipeline length and eliminating the most failure-prone section known as “The Box”.
Replacing 3 miles of pipeline between Phantom Ranch and Havasupai Gardens with flex-steel pipe, which is more durable than the old aluminum.
Constructing new water treatment plants at Phantom Ranch and the South Rim.
Installing new pump stations, fire hydrants, water filling stations, and electrical lines.
Upgrading the park helibase to support helicopter transport of materials into the rugged inner canyon.
How Does This Affect Hikers?
Trail closures and detours—like the one you took around Bright Angel Trail—are necessary to keep workers safe and the project moving.
Temporary fencing and construction zones may be present near Phantom Ranch and other inner canyon areas.
Water conservation measures may still be in effect during breaks or transitions.
When Will It Be Done?
The project is expected to wrap up by October 2026, though delays are possible. Once complete, it’ll provide reliable water service for the next 50+ years, protect natural and cultural resources, and improve the experience for millions of visitors.
Nutrition, Hydration, and Electrolytes
Conquering the Grand Canyon in a single day requires more than grit—it demands smart fueling and hydration strategies. Here's how to keep your body happy from rim to river and back:
Before the Hike
Eat a balanced breakfast with complex carbs, protein, and healthy fats.
Hydrate well the day before and morning of—aim for at least 16–20 oz of water before hitting the trail.
During the Hike
Carry at least 3–4 liters of water, more if temperatures are high.
Drink small amounts frequently—don’t wait until you’re thirsty.
Pack salty snacks and electrolyte chews or tablets.
Eat every 60–90 minutes to maintain energy.
Electrolyte Balance
Electrolytes help regulate muscle function and hydration.
Use electrolyte powders or tablets in your water.
Watch for signs of imbalance like cramps or dizziness.
After the Hike
Rehydrate with water and an electrolyte-rich drink.
Refuel with a hearty meal containing protein, carbs, and healthy fats.
Stretch and rest—your body just did something amazing!
Back to National Parks Main Page